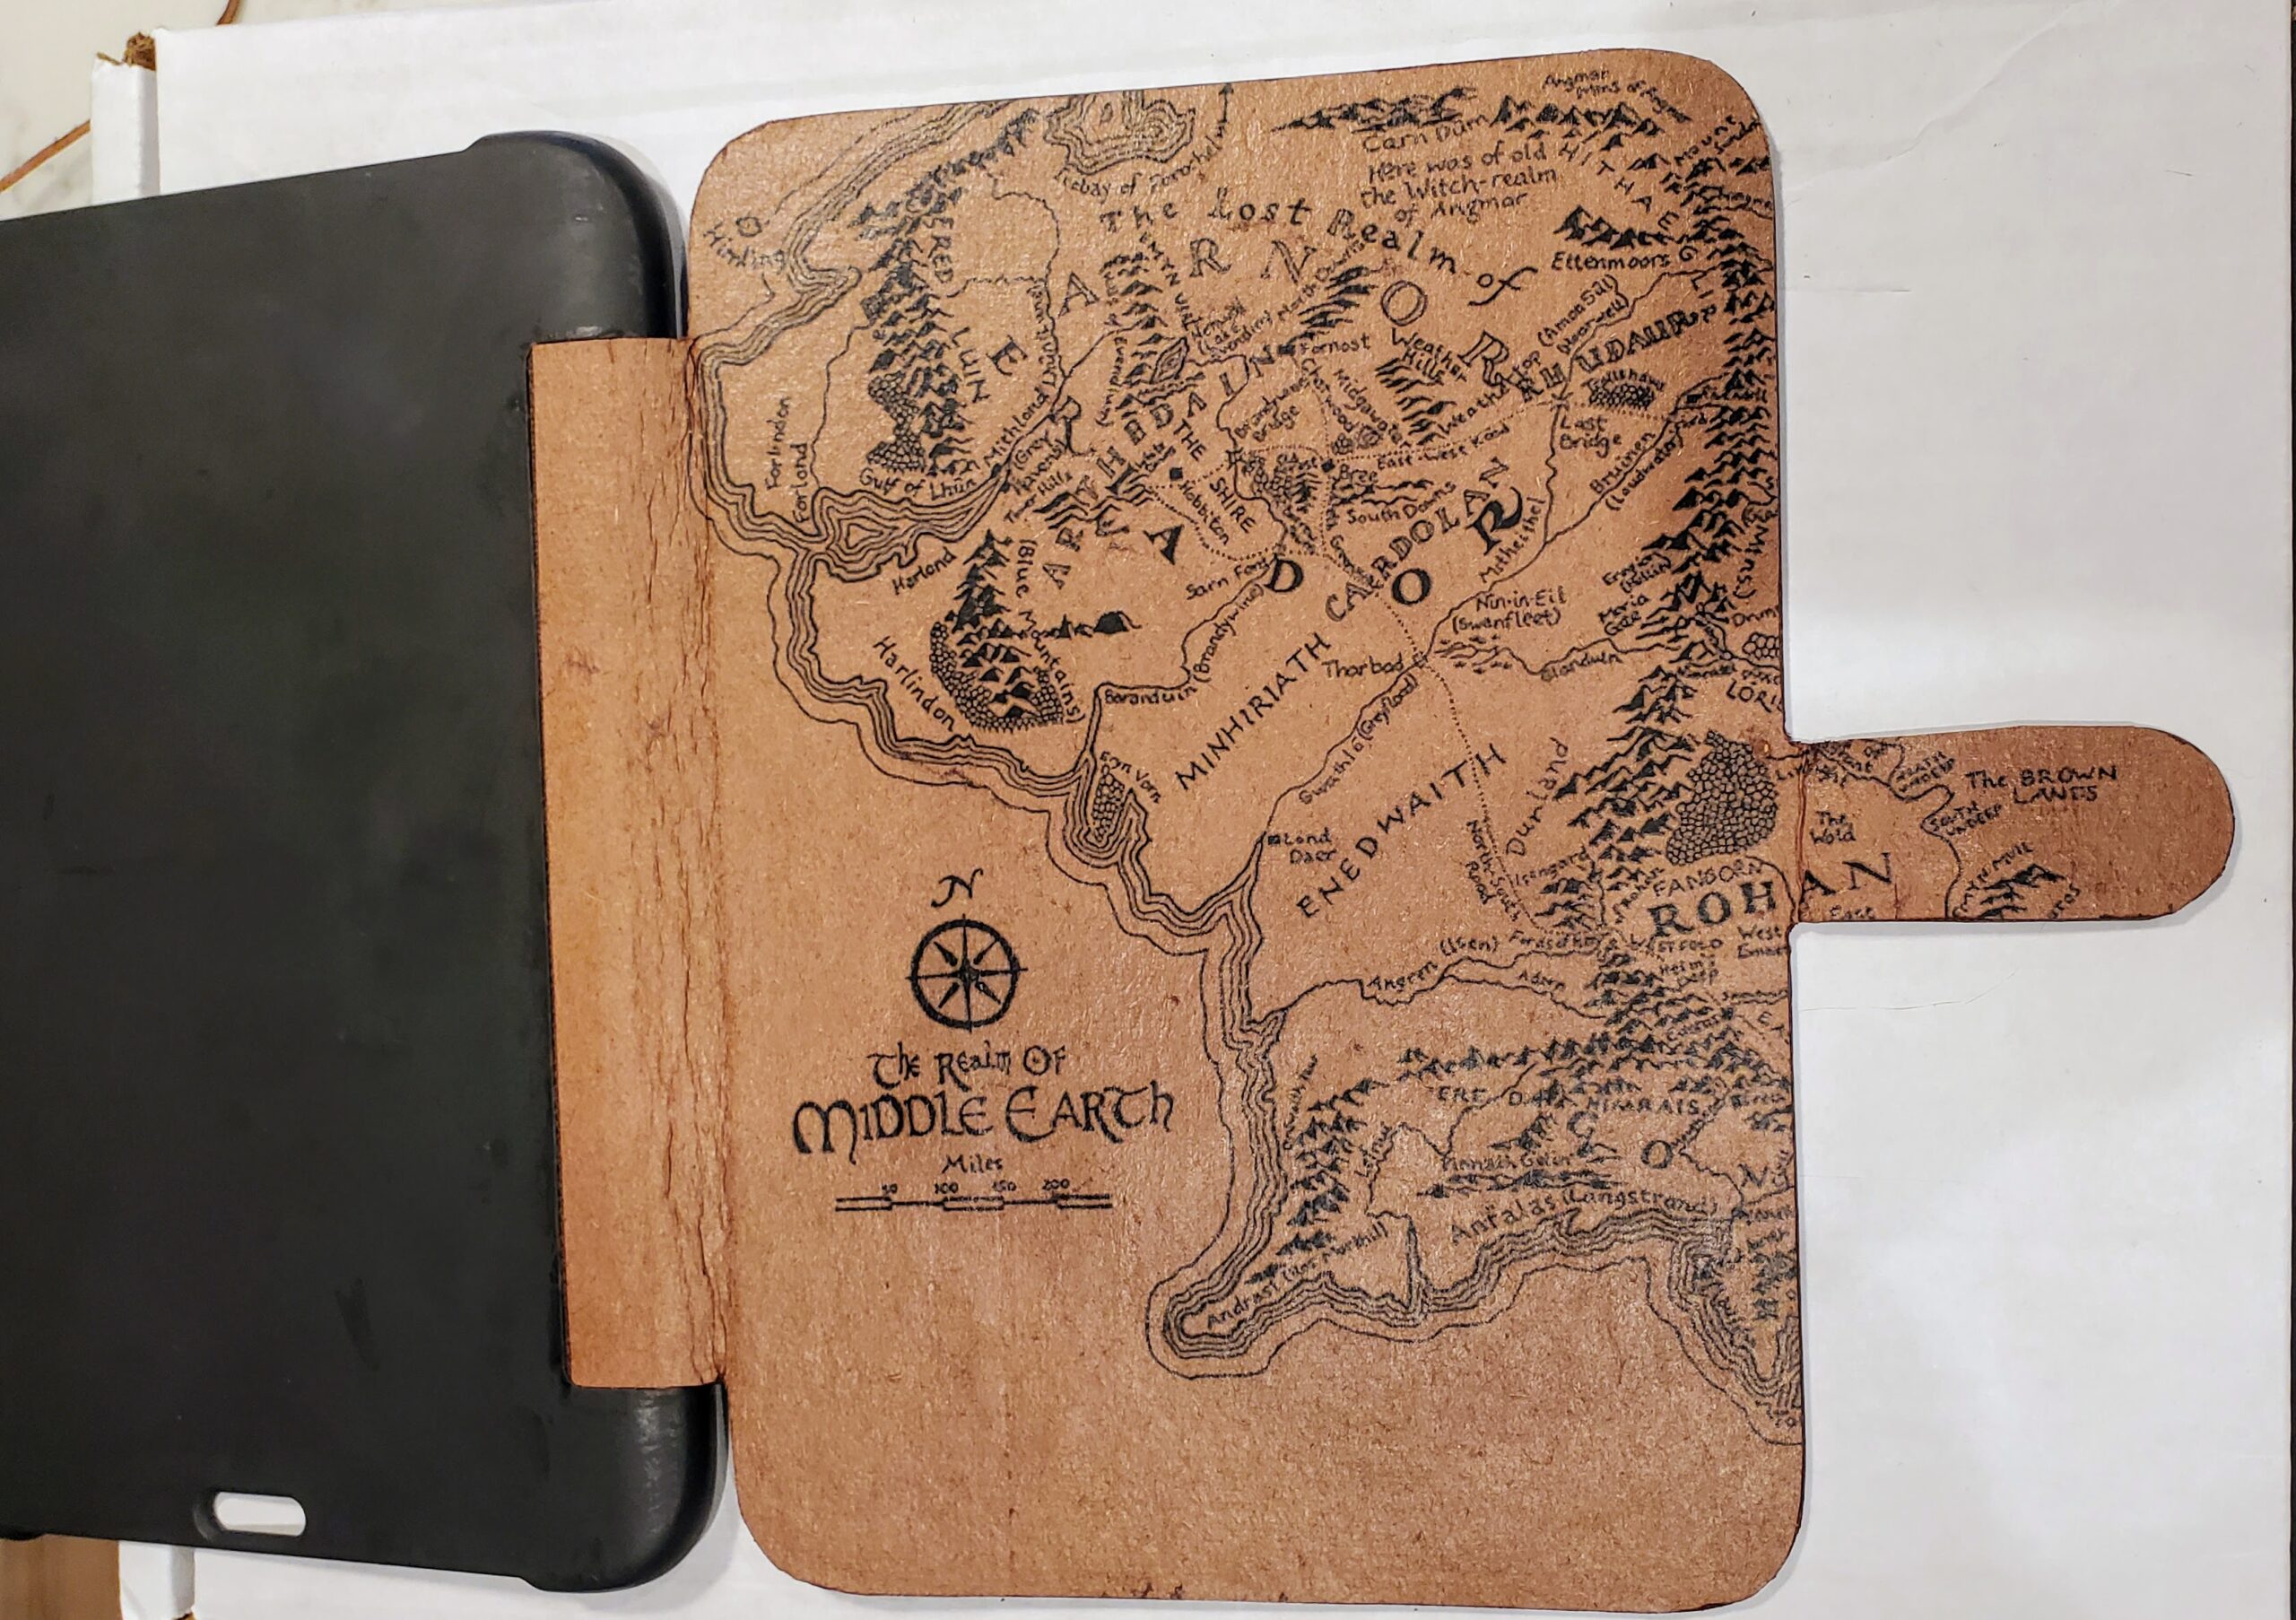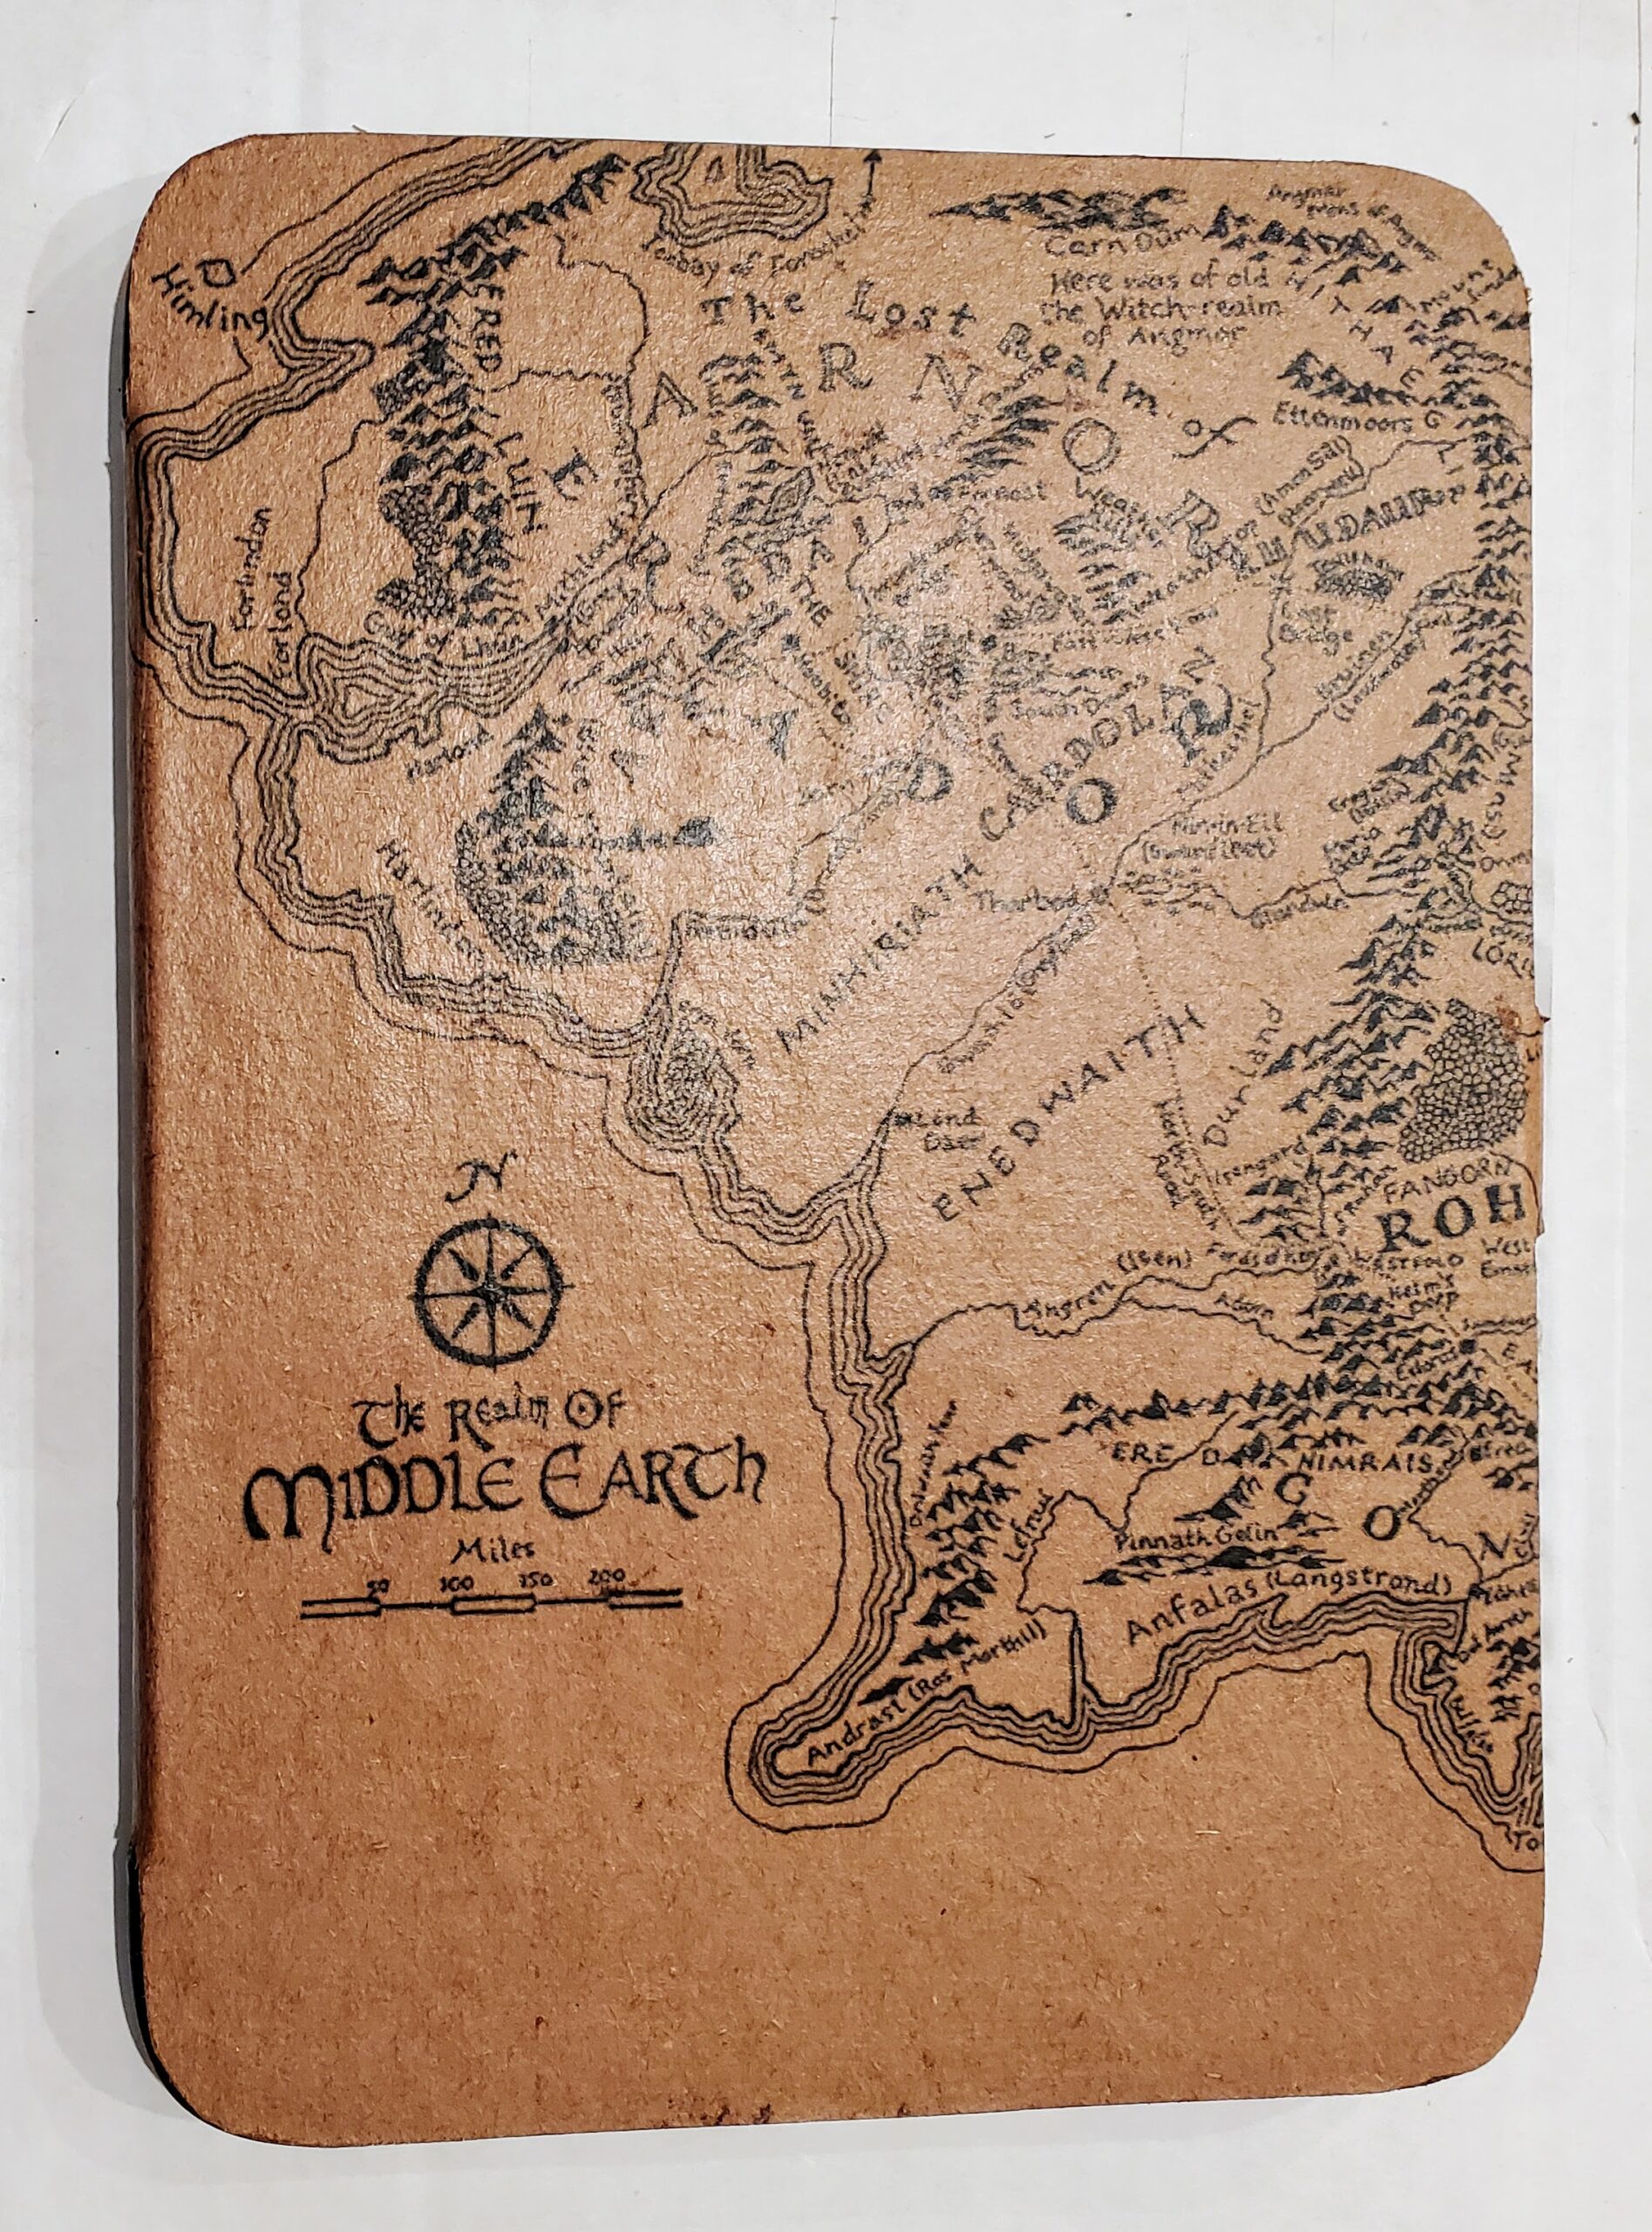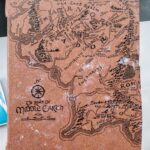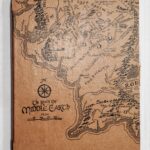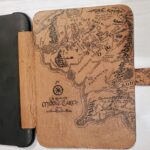
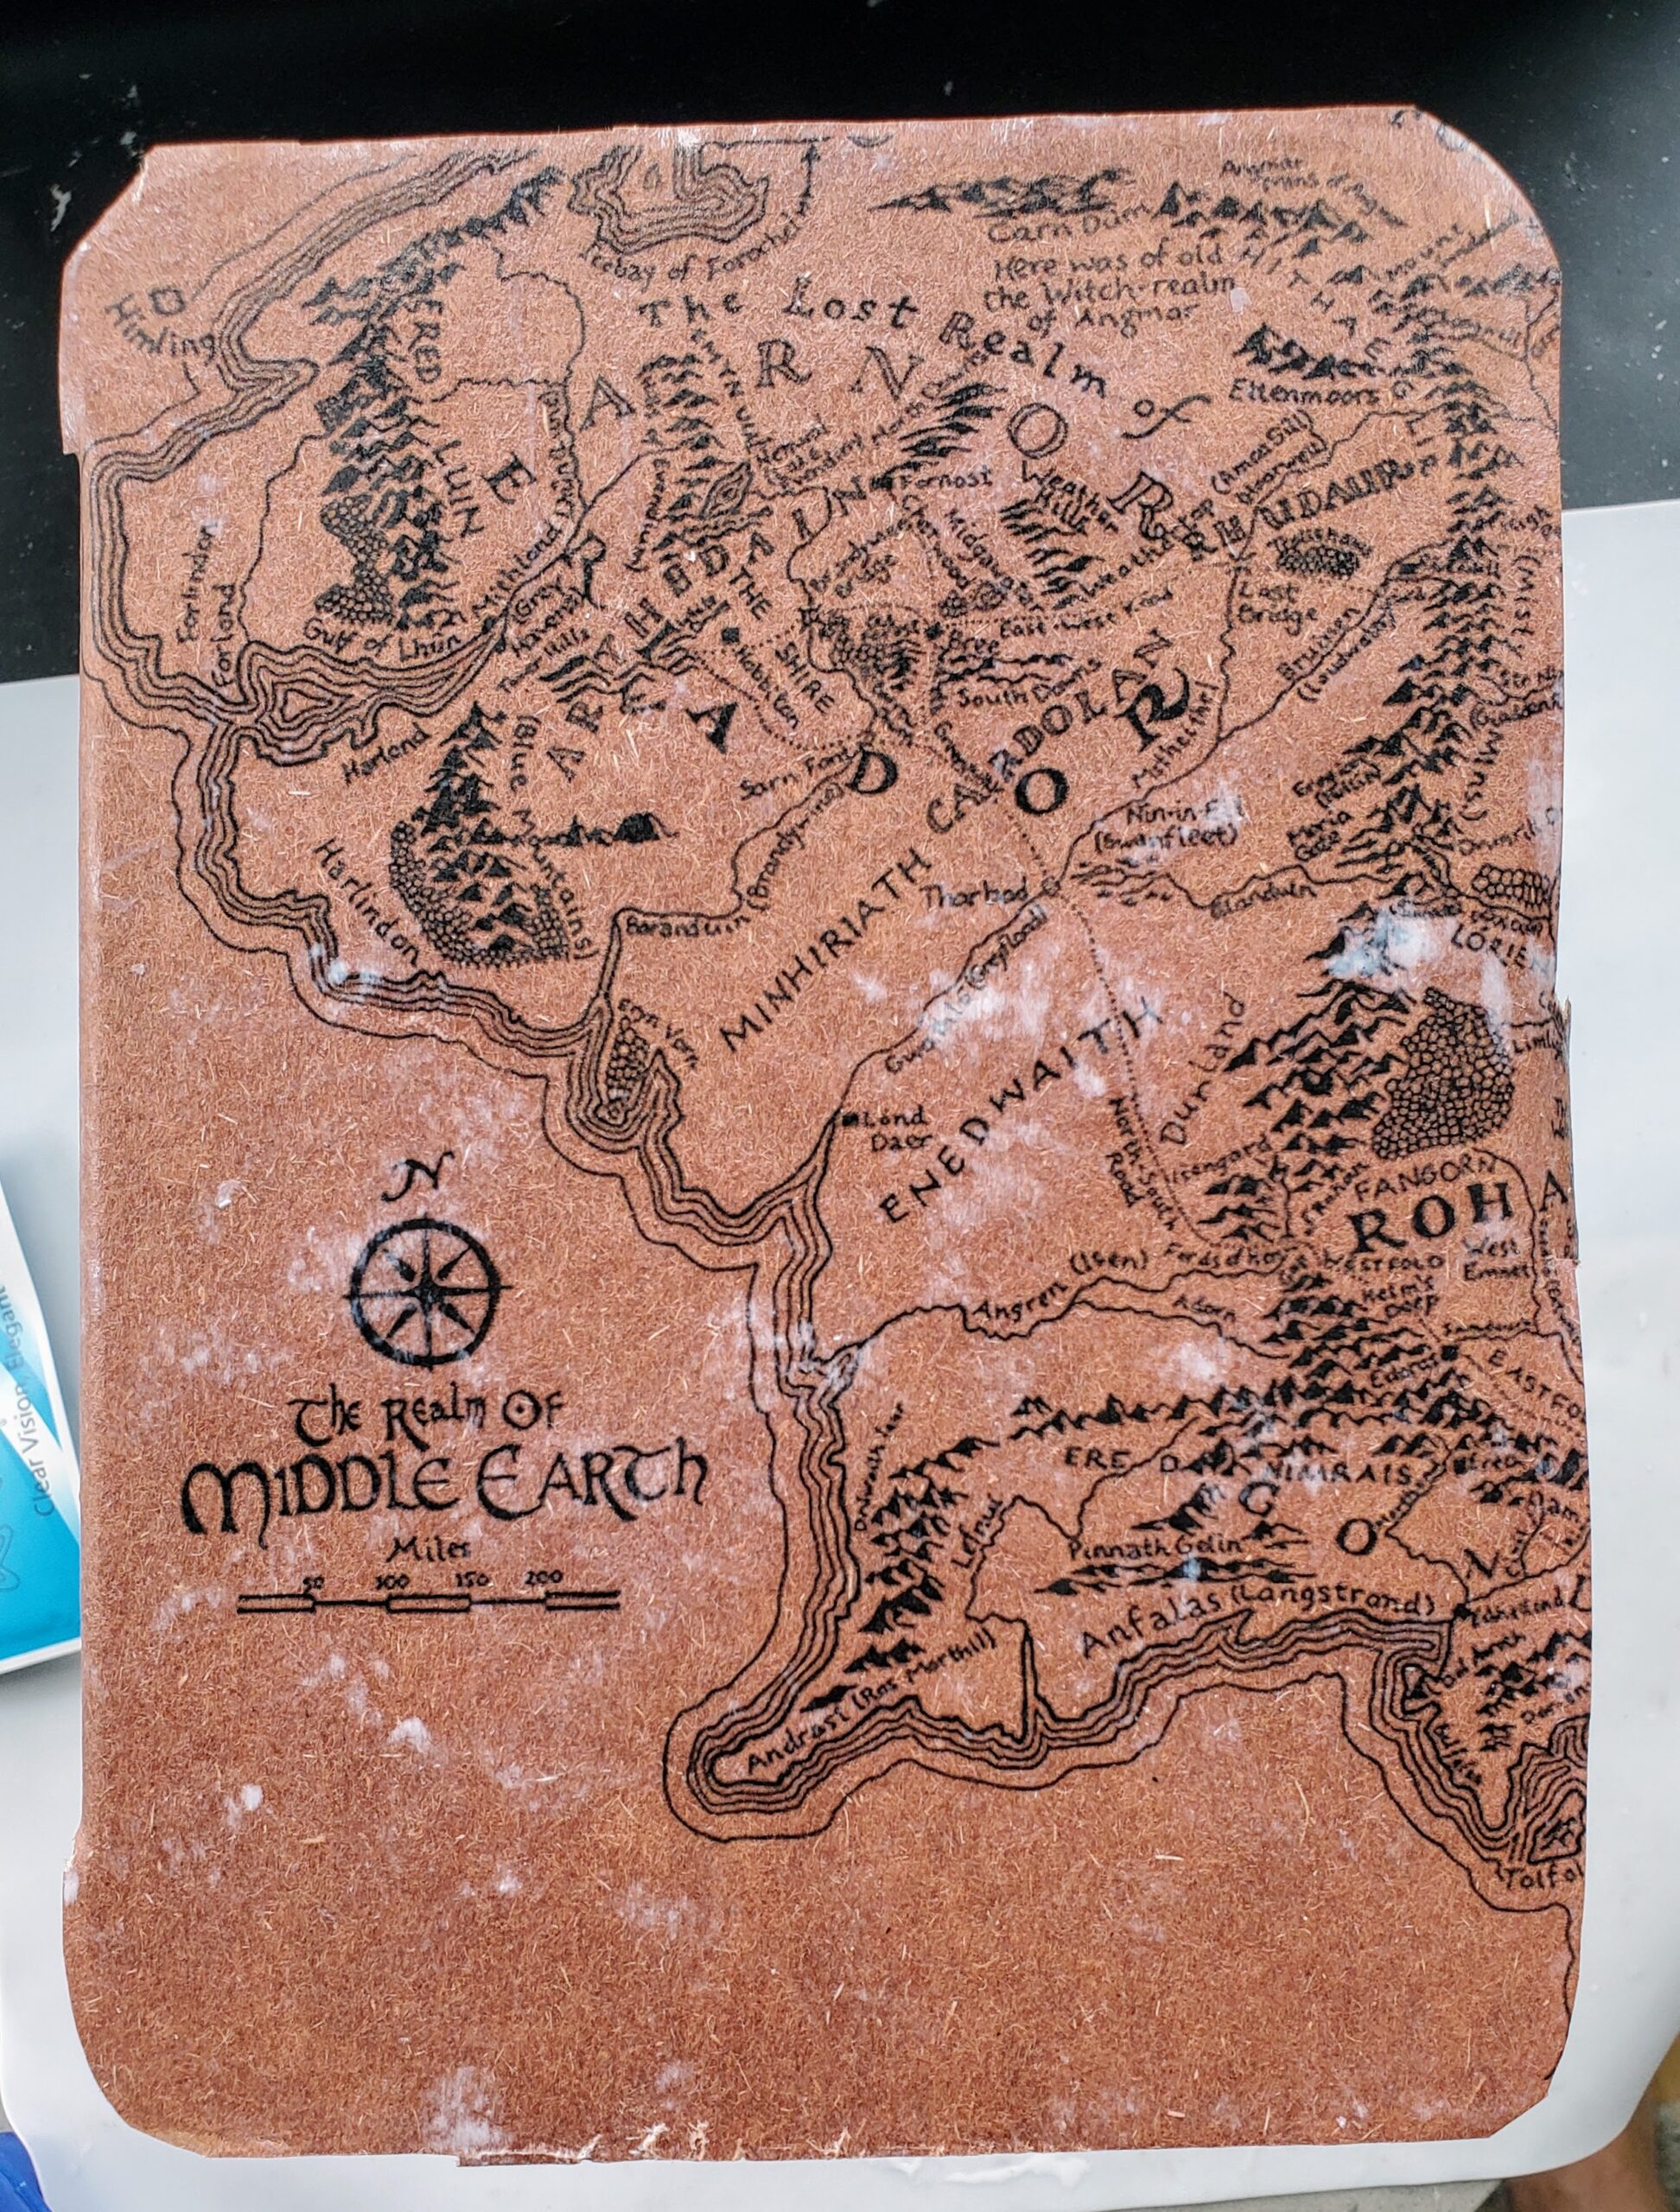
I picked up a used Nook Glowlight Plus with case for a great price, but I didn’t like the look of the case so I redid it with a map of Middle Earth and it cost me next to nothing! This method makes it look a whole lot like leather and the Middle Earth map looks great this way. I’ve done a few different cases with this technique and they all look great. If anyone wants a video tutorial, let me know in a comment. I thought about making one and putting it on YouTube.
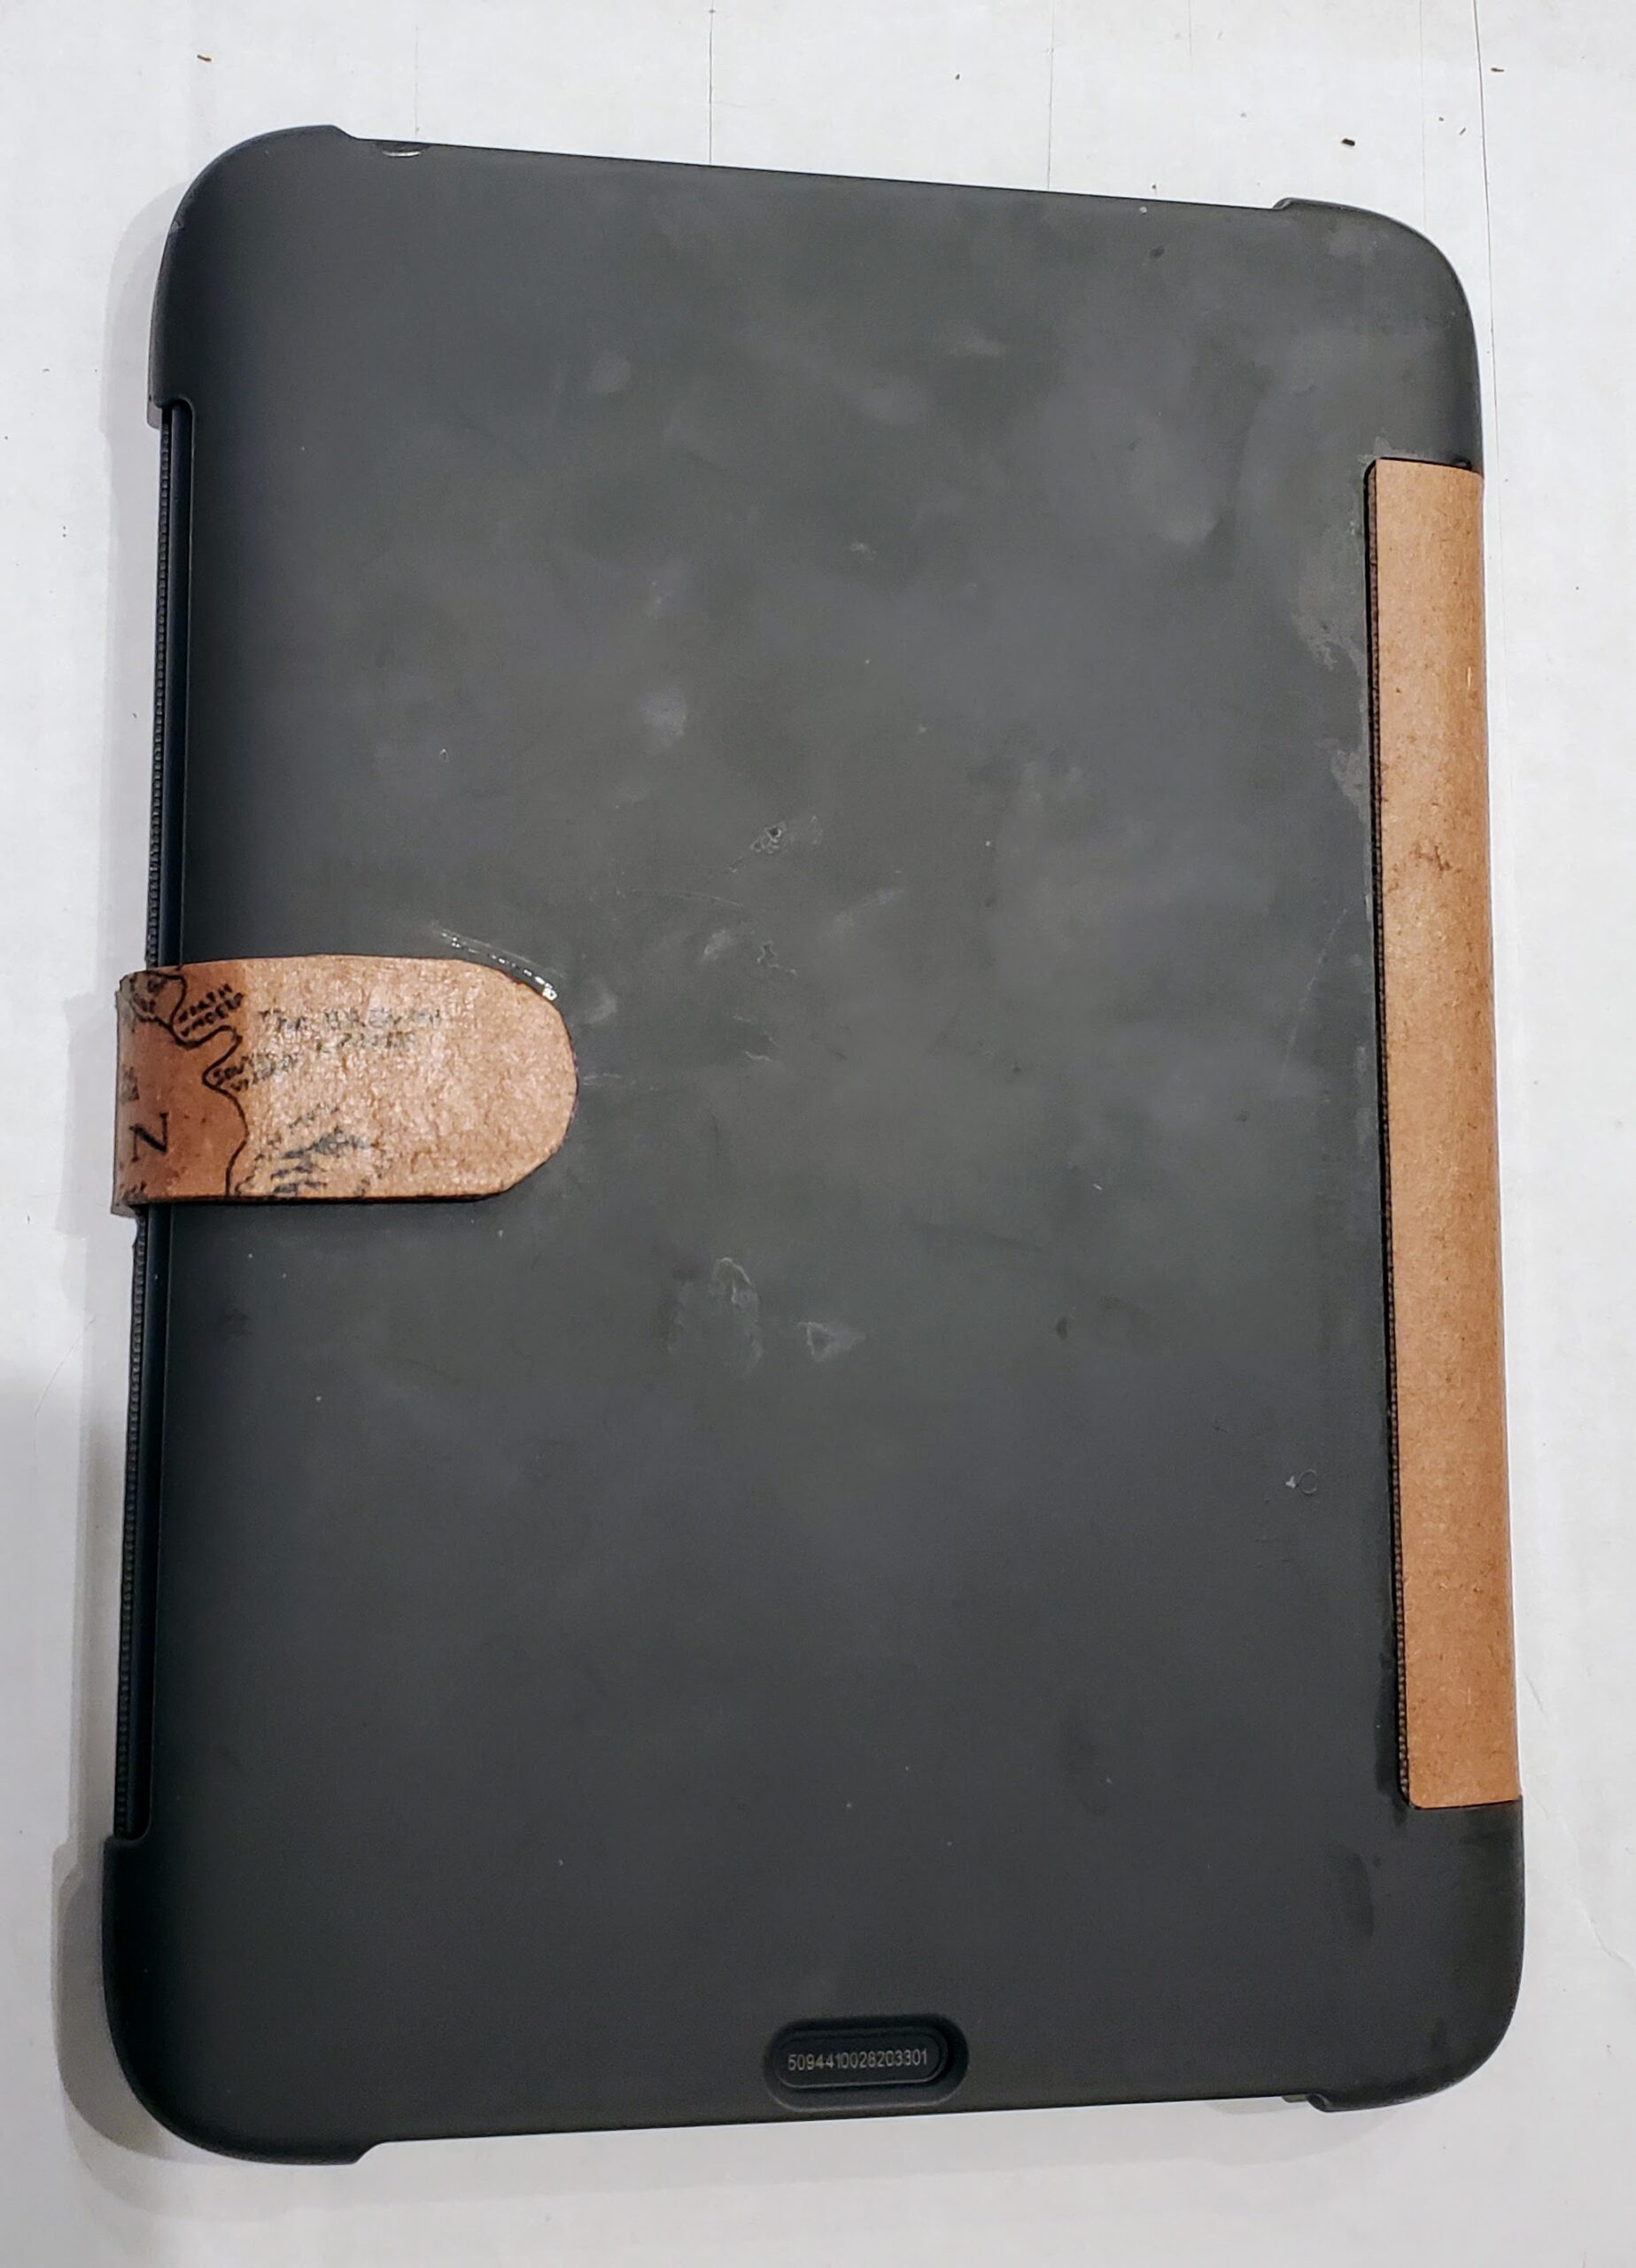
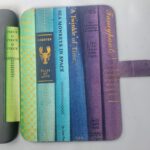
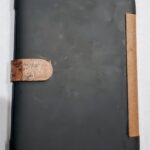
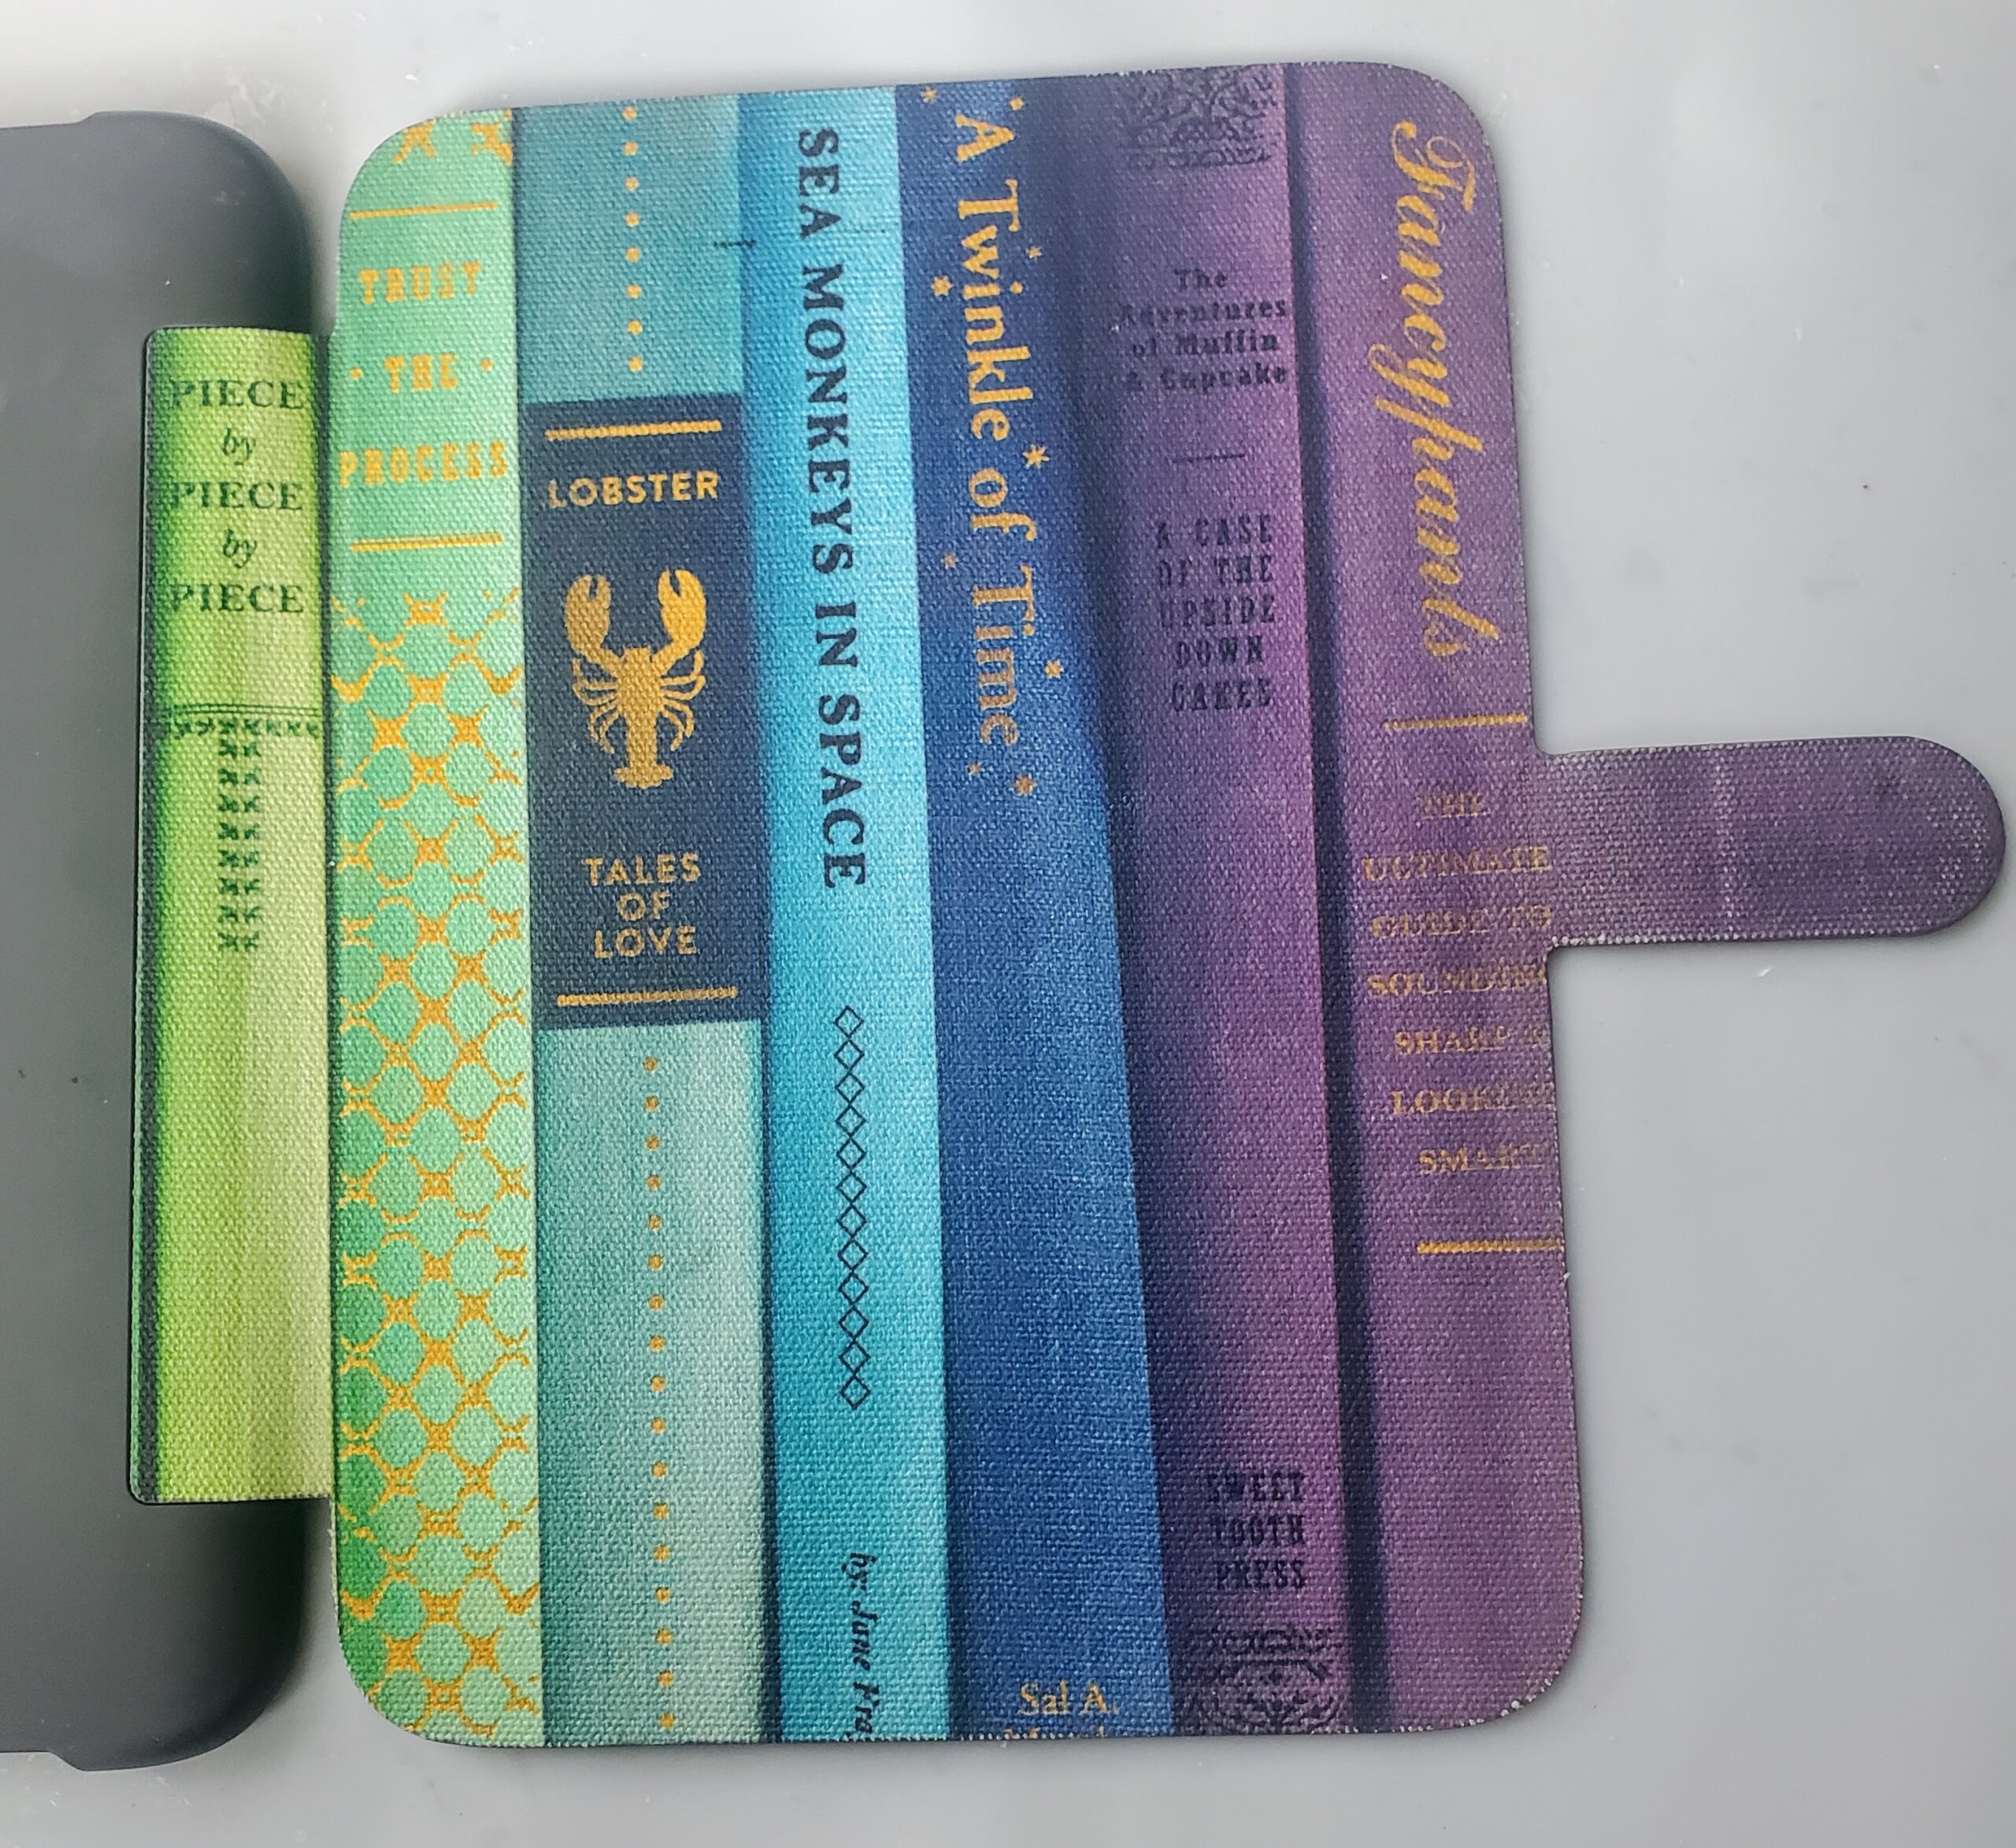
Here’s what it looked like when I got it (not terrible, but not really what I wanted):
Supplies needed:
- an ereader case
- an image to print (maps look especially good with this technique) – I used this Middle Earth map
- mod podge matte
- a sharp (xacto?) knife
- scissors
- brown paper
- printer (laserjet)
- Rust-oleum sealer
Total cost (assuming you already have the case and tools): Probably less than 25 cents. The only thing I used that I paid for was cheap paint, a little mod podge, some sealer, and some printer ink.
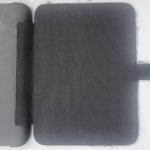
STEP 1: Paint it black. I used cheap acrylic paint.
STEP 2: Paint it brown. I used cheap acrylic paint.
STEP 3: Seal it – I used some clear acrylic sealer in a spray can.
STEP 4: Print! I use the brown packing paper that comes in Amazon (and other) shipments. I smooth it out and cut it to standard 8.5×11 sheets. I generally use the brown, but you could use any color paper you wanted. I found some cool olive green paper once. Practice printing your graphic on plain paper til you get the measurements right then print it on your real (brown) paper. I print with a laser printer. Maybe an inkjet printer would work? Not sure.
STEP 5: Apply! Cut it to the shape of your case. Depending on your case, it may be ok to let it stay a little big and you can use an xacto knife to trim it after it’s dry. This is what I did with mine. Now to apply, I use a 50/50 mix of water and mod podge. Dunk your printed graphic in the mixture and put it on the case. Smooth it out and press it so it stays put where you want it. I usually use a paper towel and blot off some of the excess liquid so it dries quicker/better. If you are applying this over any part that will bend (like mine). As it dries, you should bend it to get the paper used to the bending. If it dries unbent, it can rip when you first bend. If it dries bent, when you first unbend it, it can bulge/come away. it’s best to let it dry in the middle between bent and not bent (but bend and unbend it a few times while it dries).
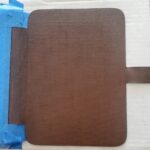
Notice in the picture below it’s hanging over the edges and not perfect – that gets cut away later.
STEP 6: Once fully dry, trim it with a sharp (xacto) knife. If the trimming exposes any of the case below, touch up any spots with more brown paint.
STEP 7: Only when fully dry, brush on another light coat of the mod podge and water mixture. Make sure you check the edges and make sure the edges are stuck down. If not, add extra glue (you could use regular white glue) or mod podge to get the edges to stick. Let it dry again.
STEP 8: Done! Enjoy!