NOTE: As an Amazon Associate I earn from qualifying purchases. The Amazon links below are affiliate links.
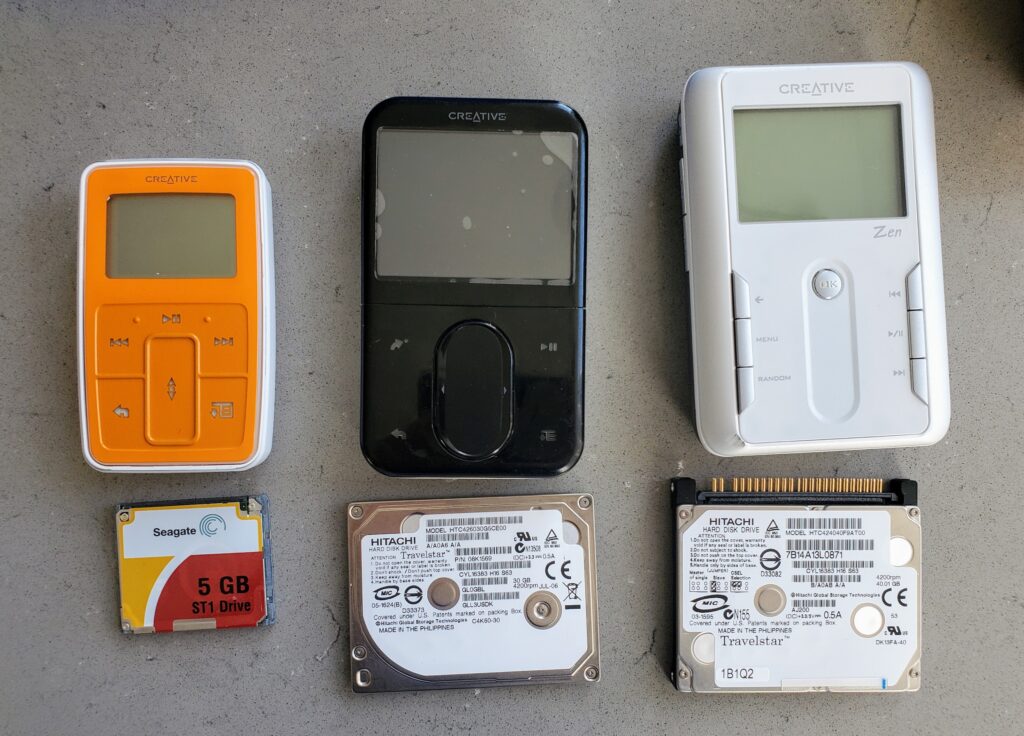
I’ve been on a kick lately buying bulk lots of MP3 players and reviving/updating/upgrading them. Keeps me busy, keeps them out of landfills, and is fun for me. Recently I got a bulk lot that had numerous Creative Zens: two Micro, one Touch, and one Vision:M. It was a major PITA to get these working so I wanted to document this for myself and others. I archived all the files on github – see brianpipa/CreativeZen.
First, big thanks to Reddit user jenrenefefe whose complete Creative Zen update guide was instrumental in helping me do this. I also archived it on github as a PDF, just to be safe.
OVERALL
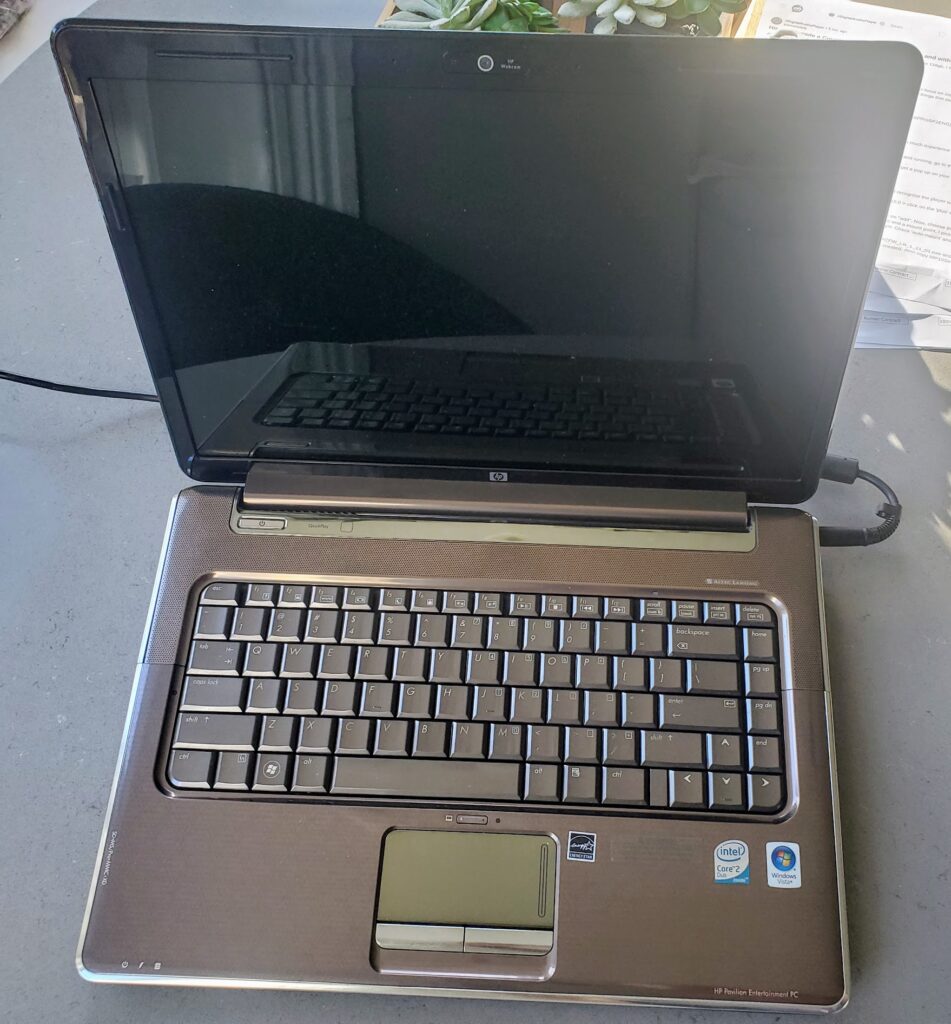
You will need Windows 98. I followed the instructions in the guide to download a Windows 98 ISO. My only laptop is Linux Mint and I didn’t want to try dual booting it and I tried VirtualBox on it but I couldn’t get it to work. So, I bit the bullet and spent $23 on an old laptop to put Windows on. This is now my “old tech” laptop. I installed Windows 10 Home and VirtualBox, and setup VirtualBox with Windows 98. Follow the info in the guide. This was not easy. The laptop came with no OS on it, and I had to jump through all kinds of hoops to install Windows on it… but I eventually got it done.
I’m not going to go through the software/firmware/drivers – the guide goes through that – I’m just going to go over the hardware I used to upgrade the drives.
Creative Zen Micro
I updated the firmware to the latest 2.21.02 so that it supports drag and drop. I needed a CF->SD adapter and a MicroSD->SD adapter. Here are the links to what I used.
- $13 QUMOX Dual Port CF Adapter Reader for microsdXC TF to Compact Flash CF Type 1 Memory Card
- $13 Amazon Basics MicroSDXC UHS-I Class 10 Memory Card with Full Size Adapter, A2, U3, V30, 4K, 64 GB (2pack)
- $13 HQRP 750mAh Replacement Battery Compatible with Creative Zen Micro DAA-BA0005
So the hardware to upgrade the drive in the Creative Zen Micro cost me about $20 and the battery was another $13 so about $32 total.
Here’s a YouTube video that shows how to take the Creative Zen Micro apart Use the existing drive in the Micro to figure how to put the new adapter in – it goes the same way – whichever way the front of the existing drive faces, put the adapter in facing the same way. I installed the 1.11.01 firmware first, then updated it to 2.21.02. Maybe you can go straight to 2.21.02 – not sure. I also needed a battery and bought this battery from Amazon and it worked great.
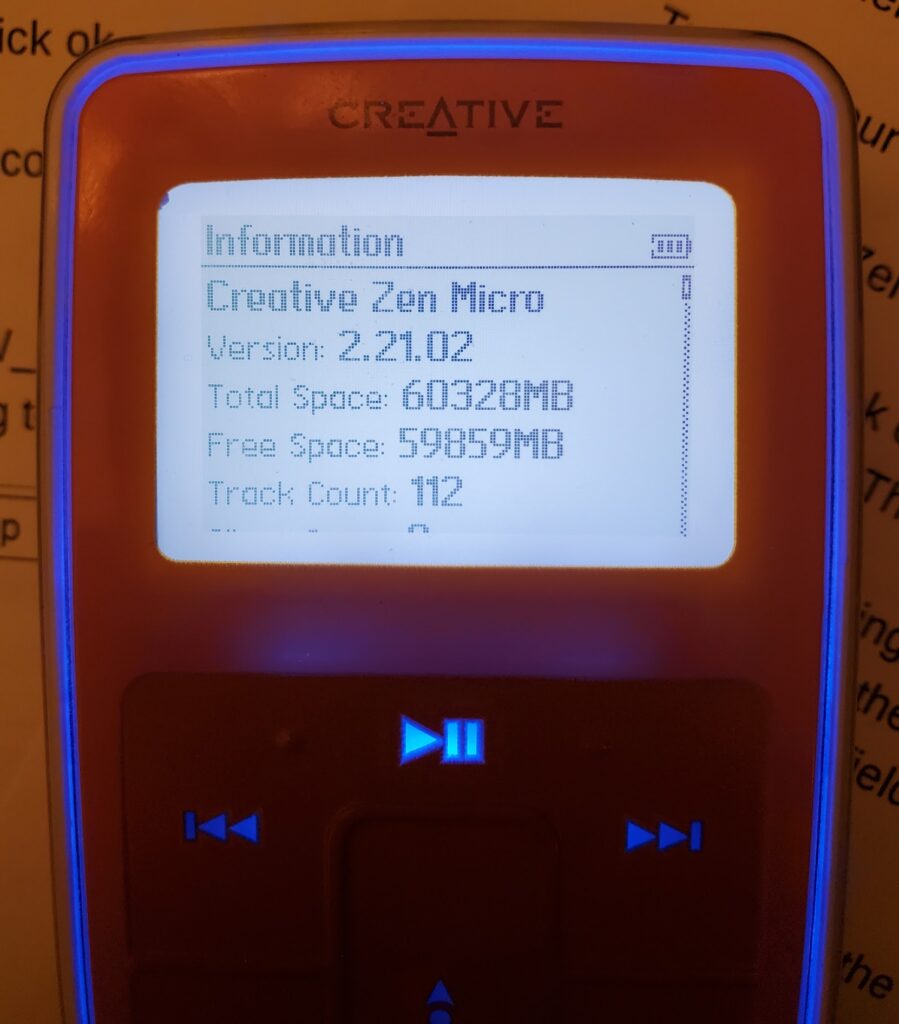
So now the Micro has 64GB of storage:
Creative Zen Vision:M
From what I read, some Vision:M devices use a ZIF connector and some use IDE. Mine used ZIF so this is the hardware I used:
- $8 CY CF Memory Card Adapter SSD HDD Adapter 1.8″ Compact Flash CF Memory Card to CE ZIF SSD HDD Adapter
- $13 QUMOX Dual Port CF Adapter Reader for microsdXC TF to Compact Flash CF Type 1 Memory Card
- $13 Amazon Basics MicroSDXC UHS-I Class 10 Memory Card with Full Size Adapter, A2, U3, V30, 4K, 64 GB (2pack)
So the hardware upgrade the drive in the Creative Zen Vision:M cost me about $27.
YouTube video that shows how to take the Creative Zen Vision:M apart
I also needed a battery so I ordered this battery from Amazon but it hasn’t arrived yet at the time of this writing. UPDATE: The battery works!
I read that the last firmware that supports third party batteries was 1.41.01 so that’s the one I installed. I also read that the specific battery I bought is seen as an OEM battery, but I didn’t want to take chances.
So now the Creative Zen Vision:M has 64GB of storage:
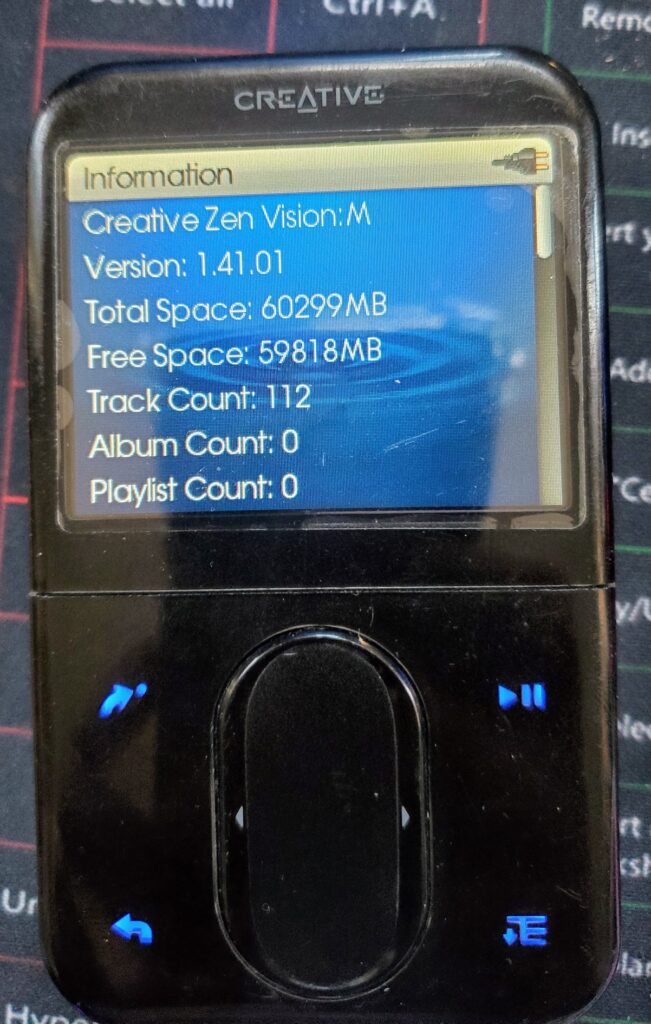
(that’s just a poorly applied screen protector – the actual screen is pristine)
Creative Zen Touch
Adapter needed: $13 Comimark 1Pcs SODIAL(R) 44-Pin Male IDE to SD Card Adapter. Install this upside down (so you can’t see the SD card).
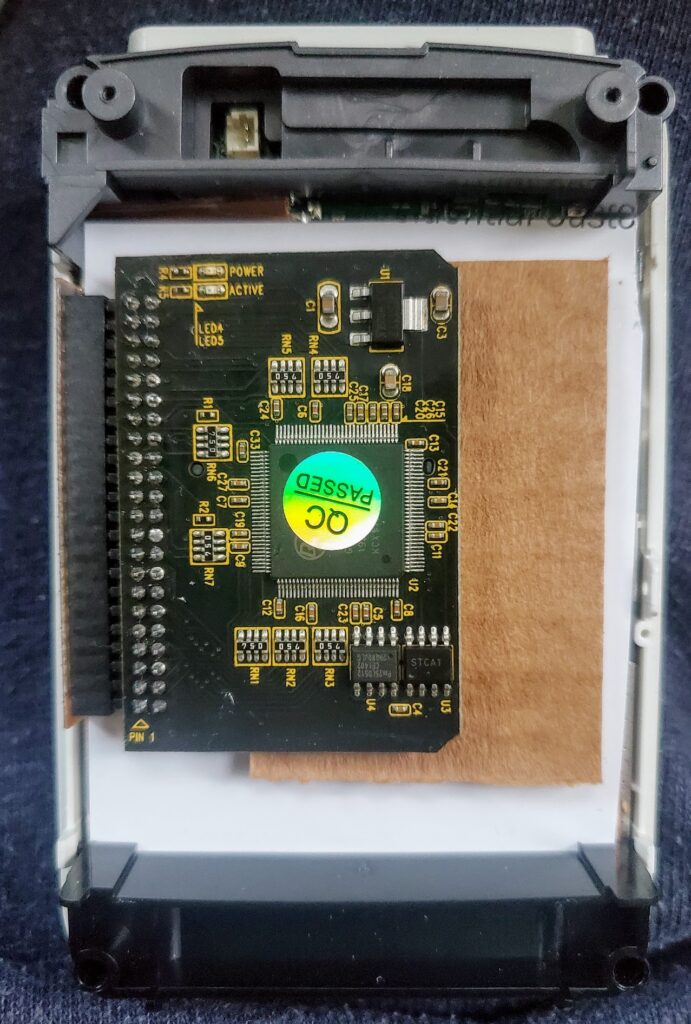
I had an extra 32GB microSD card so i just used that. I don’t have the specs on the microSD card handy and don’t feel like pulling it apart to look. I ended up putting some cardboard padding on both sides to prevent it from flopping around.The battery seems to hold a decent charge so I didn’t replace the battery,
I wish I had a 3D printer and some design skills to print out a new shallower back – without the HDD it could be SOOOO much thinner!
So now the Creative Zen Touch has 32GB of storage:
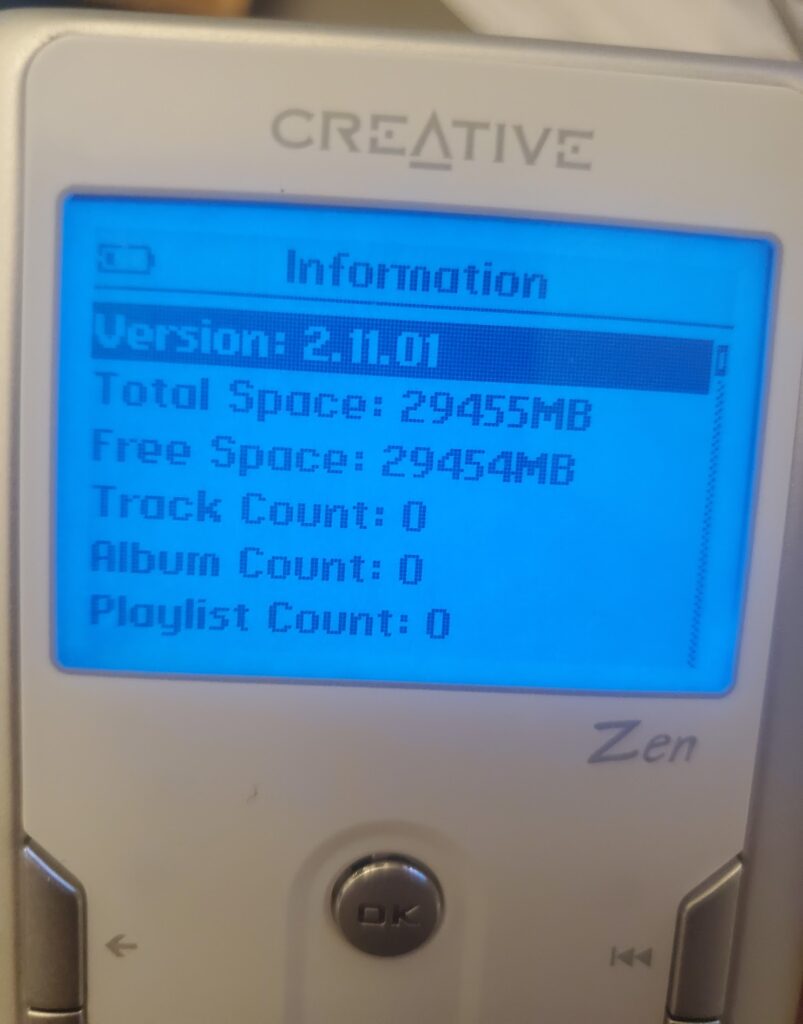
So that’s it! 3 Creative Zens upgraded! Feel free to ask questions in the comments – I’ll help if I can.
Reference links:
That’s so cool! I’m reviving my Creative Zen Micro too, it’s a bit different model DAP-HD0015 with much smaller battery but with 20GB HDD (I believe). I wasn’t able to disassemble it yet, but want to see if it still works if I put a new battery.
Thanks for sharing your trial!