Category Archives: Geek

Creative Zen MP3 Player Firmware and HDD Upgrades

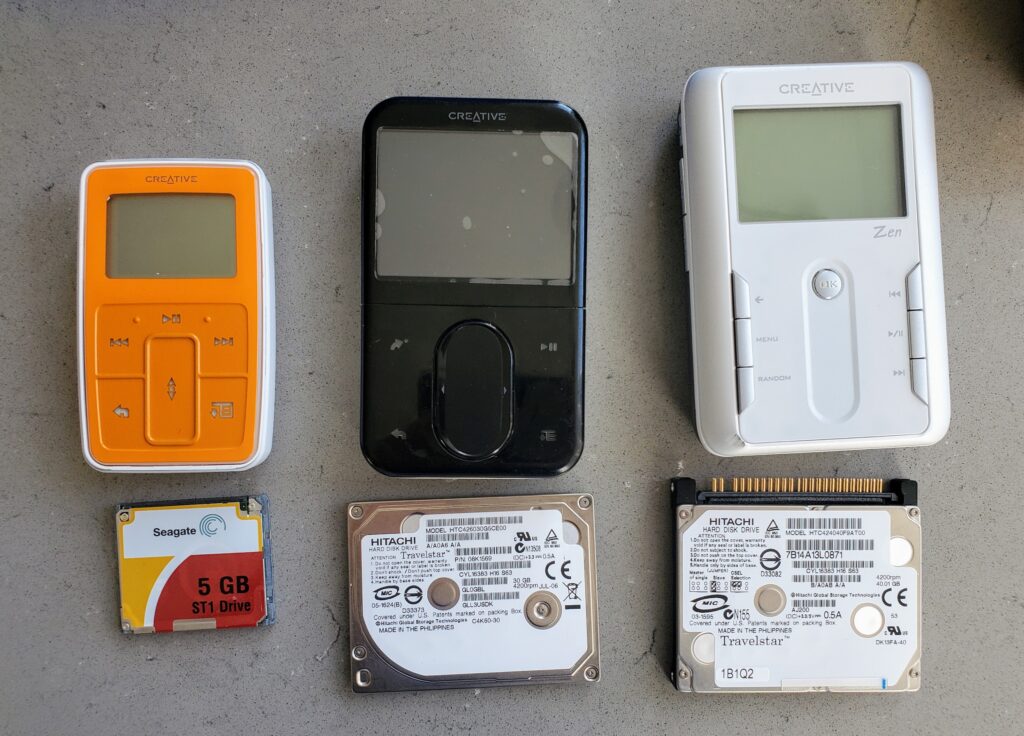
the 3 zens I upgraded

NOTE: As an Amazon Associate I earn from qualifying purchases. The Amazon links below are affiliate links.

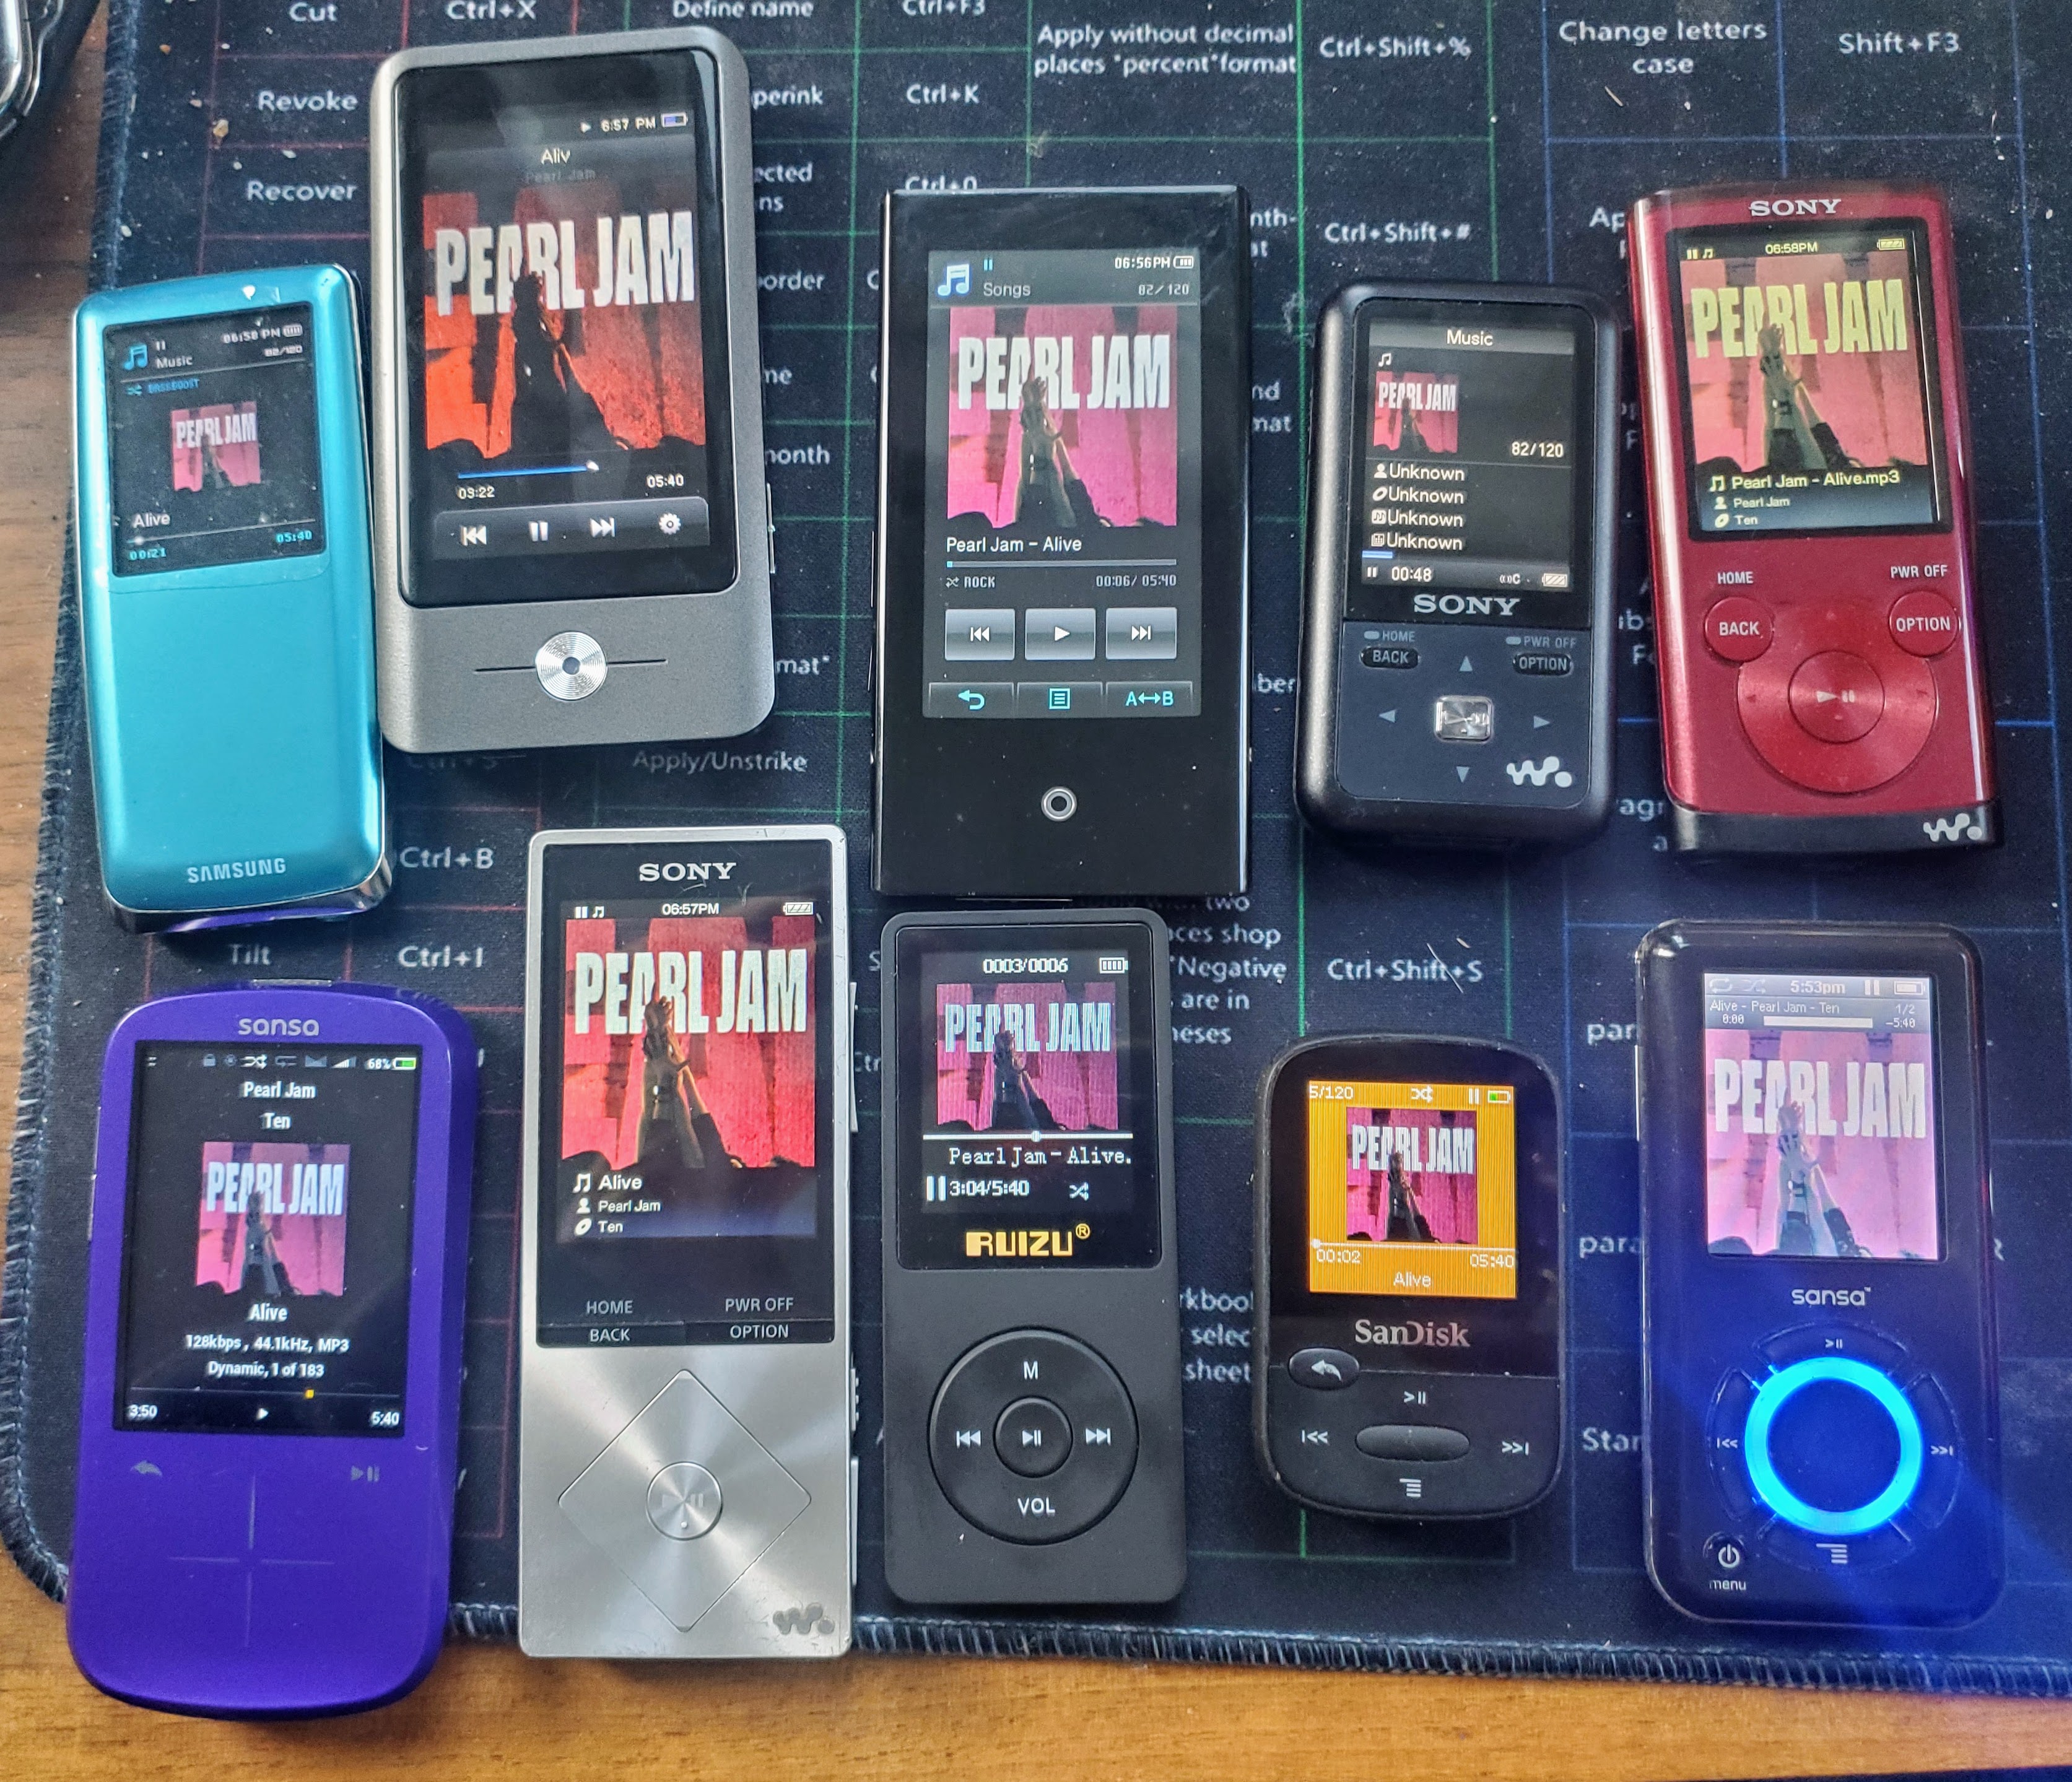
I’ve been on a kick lately buying bulk lots of MP3 players and reviving/updating/upgrading them. Keeps me busy, keeps them out of landfills, and is fun for me. Recently I got a bulk lot that had numerous Creative Zens: two Micro, one Touch, and one Vision:M. It was a major PITA to get these working so I wanted to document this for myself and others. I archived all the files on github – see brianpipa/CreativeZen.

First, big thanks to Reddit user jenrenefefe whose complete Creative Zen update guide was instrumental in helping me do this. I also archived it on github as a PDF, just to be safe.


OVERALL


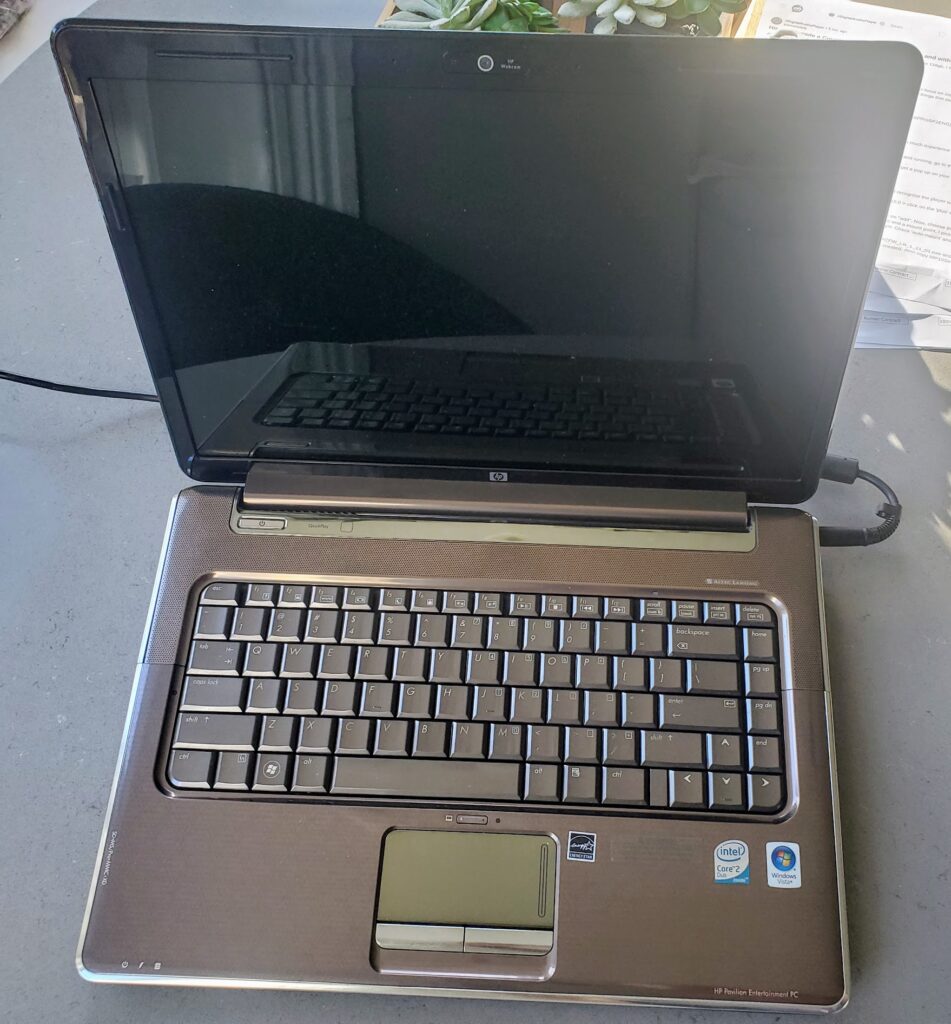
You will need Windows 98. I followed the instructions in the guide to download a Windows 98 ISO. My only laptop is Linux Mint and I didn’t want to try dual booting it and I tried VirtualBox on it but I couldn’t get it to work. So, I bit the bullet and spent $23 on an old laptop to put Windows on. This is now my “old tech” laptop. I installed Windows 10 Home and VirtualBox, and setup VirtualBox with Windows 98. Follow the info in the guide. This was not easy. The laptop came with no OS on it, and I had to jump through all kinds of hoops to install Windows on it… but I eventually got it done.

I’m not going to go through the software/firmware/drivers – the guide goes through that – I’m just going to go over the hardware I used to upgrade the drives.

Continue reading

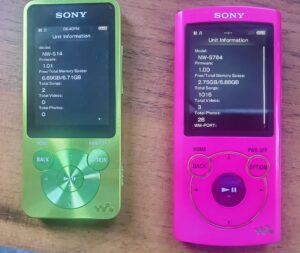
Sony Walkman NW-S764 and NW-S14 from Japanese to English


I picked these two up from ebay and both were in Japanese and have no option to change languages. Did some research and figured out how to switch them to English. Despite them not being listed on https://www.rockbox.org/wiki/SonyNWDestTool the tool does work. Watch this youtube video (different model, but the concept is the same) and follow the instructions on the SonyNWDestTool page. Once you run the command and safely eject, reset the settings.
To reset the settings on either one the steps/menus are the same:

  1. From the Main screen – choose toolbox in the bottom left
  2. push up once to get to the bottom of the list and choose that (Common Settings)
  3. push up twice then choose that (Reset/Format)
  4. Choose what is selected (Reset All Settings)
  5. Press left once to select Yes

and now the interface should be in English!

Kindle ereader case with clear window so you can see the book cover


Someone on Reddit asked if this existed. As far as I can tell, it doesn’t (didn’t).

Here are my two proof of concepts. The brown one has a magnet and will turn the screen on/off when it’s opened/closed. The black one does not have a magnet. They both use a piece of plexiglass as the “window”. The brown one has the plexi embedded in the case (the cardboard), where the black one has it attached to the inside cover. I like the black one better because it was WAY easier to make so I’ll create more that look like the black one (though not all black) and add in the magnet. I also have an idea to make the inside left look cleaner (where the plexi is attached).

Pocketbook Touch HD 2 (PB631) – using book covers for the sleep image

I REALLY disliked the ZZZ sleep image on myPocketbook Touch HD 2 (PB631) ereader. On my hacked Kindle, KOReader will show the cover image. I wanted the same thing on the Pocketbook. I googled and searched all over and couldn’t find an answer, but I found clues in a couple places. One was how to replace the boot and startup logos. Another was a tutorial showing how to change the sleep (ZZZ) image to something else (translated to English).

So, here is how to show your book cover instead of the sleep image on a Pocketbook. This should work on some other Pocketbook models, but this is the only one I have so no guarantees.

  • plug in your Pocketbook via USB and in the root directory, create system/resources/Line (you will create resources and Line)
  • in system/resources/Line create an empty file named taskmgr_lock_background.bmp
  • safely disconnect your pocketbook
  • on your pocketbook, open KOReader and go to the cog wheel (3rd from left) in the main settings menu. Choose “screen->cover image” then check “save cover image”. Choose “set image path” and choose the location you just created: system/resources/Line/taskmgr_lock_background.bmp. Under “Size, background and format, choose “BMP file format (grayscale) and choose if you want to fit to screen and what background you want. Optionally, change the stretch ratio to threshold. I set mine to 20% so it would fill the screen even if it stretched it.
  • now to make this work well, go to the Pocketbook settings-Saving Power and turn on “auto screen lock” and turn off “power off after” so that it will go to sleep but not turn off completely.

One caveat – it appears that the Pocketbook caches in memory the sleep image, so if you change books in KOReader, it will write the cover properly but the Pocketbook won’t use it until you power off and power back on. So, when you start a new book in KOReader, open it, power off, power back on then your cover will be shown. Luckily the Pocketbook restarts pretty quickly and you only have to do it when you start a new book.