BTW – If you prefer this type of tutorial as a short youtube video, let me know.
So I’ve been playing around some more with making (cowboy) hats and came up with something that seems to work pretty well for me. This technique could be used for making other types of hats and I have even used this basic concept to make leather-ish clothing. The good thing is, this technique is cheap to experiment with.
Supplies:
- Existing hat (preferably plastic) that you like the shape/style of. In my case, I’m using a Black Series Cad Bane hat
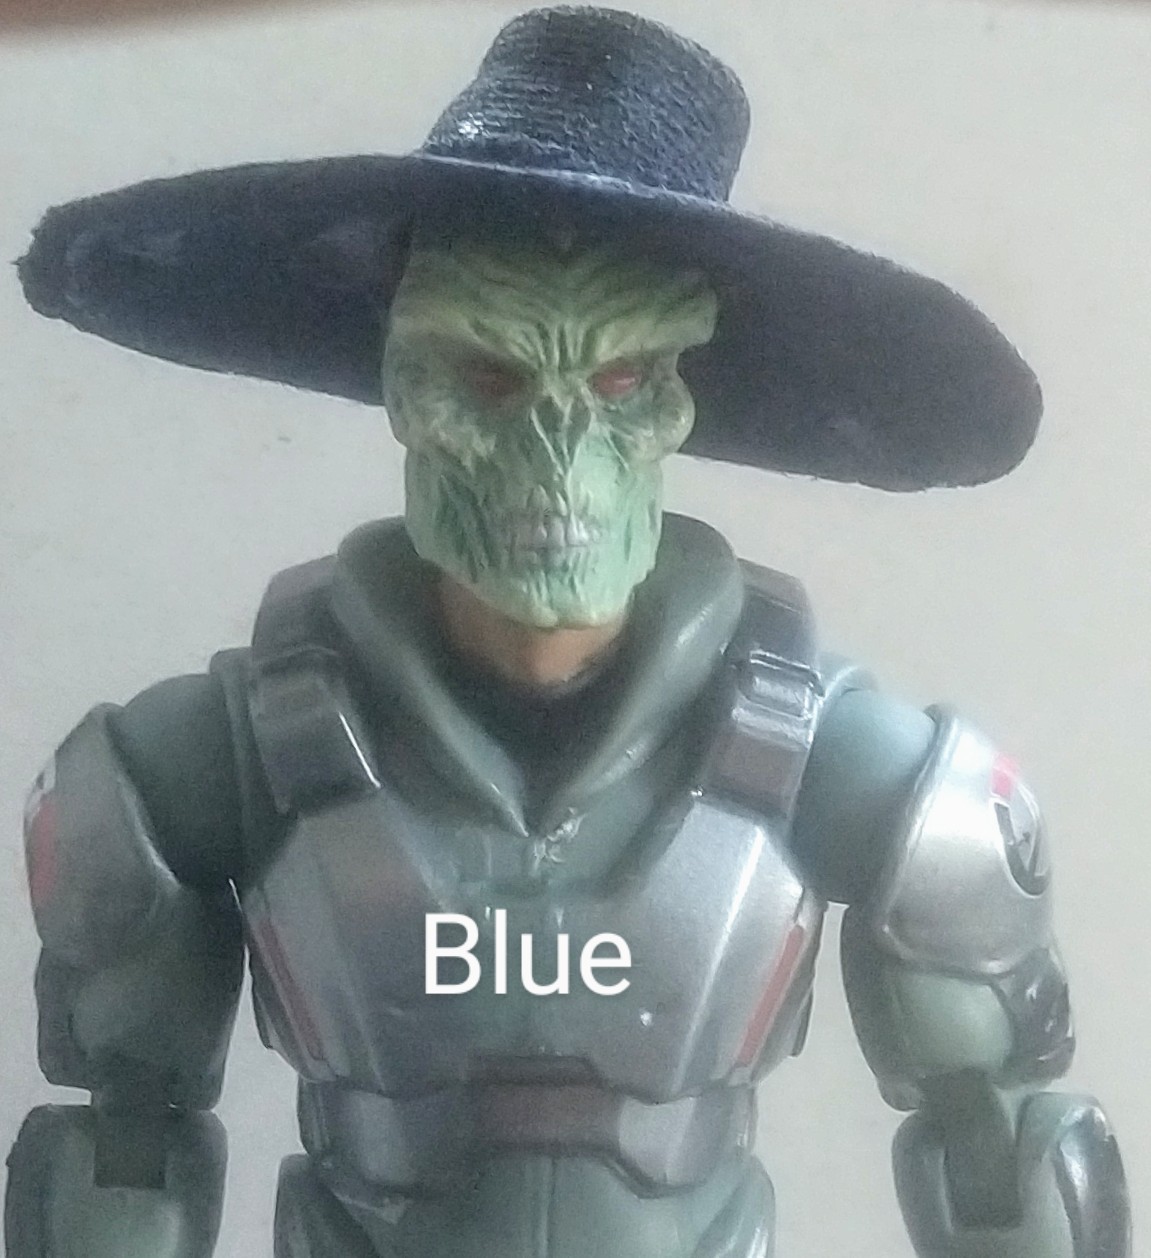
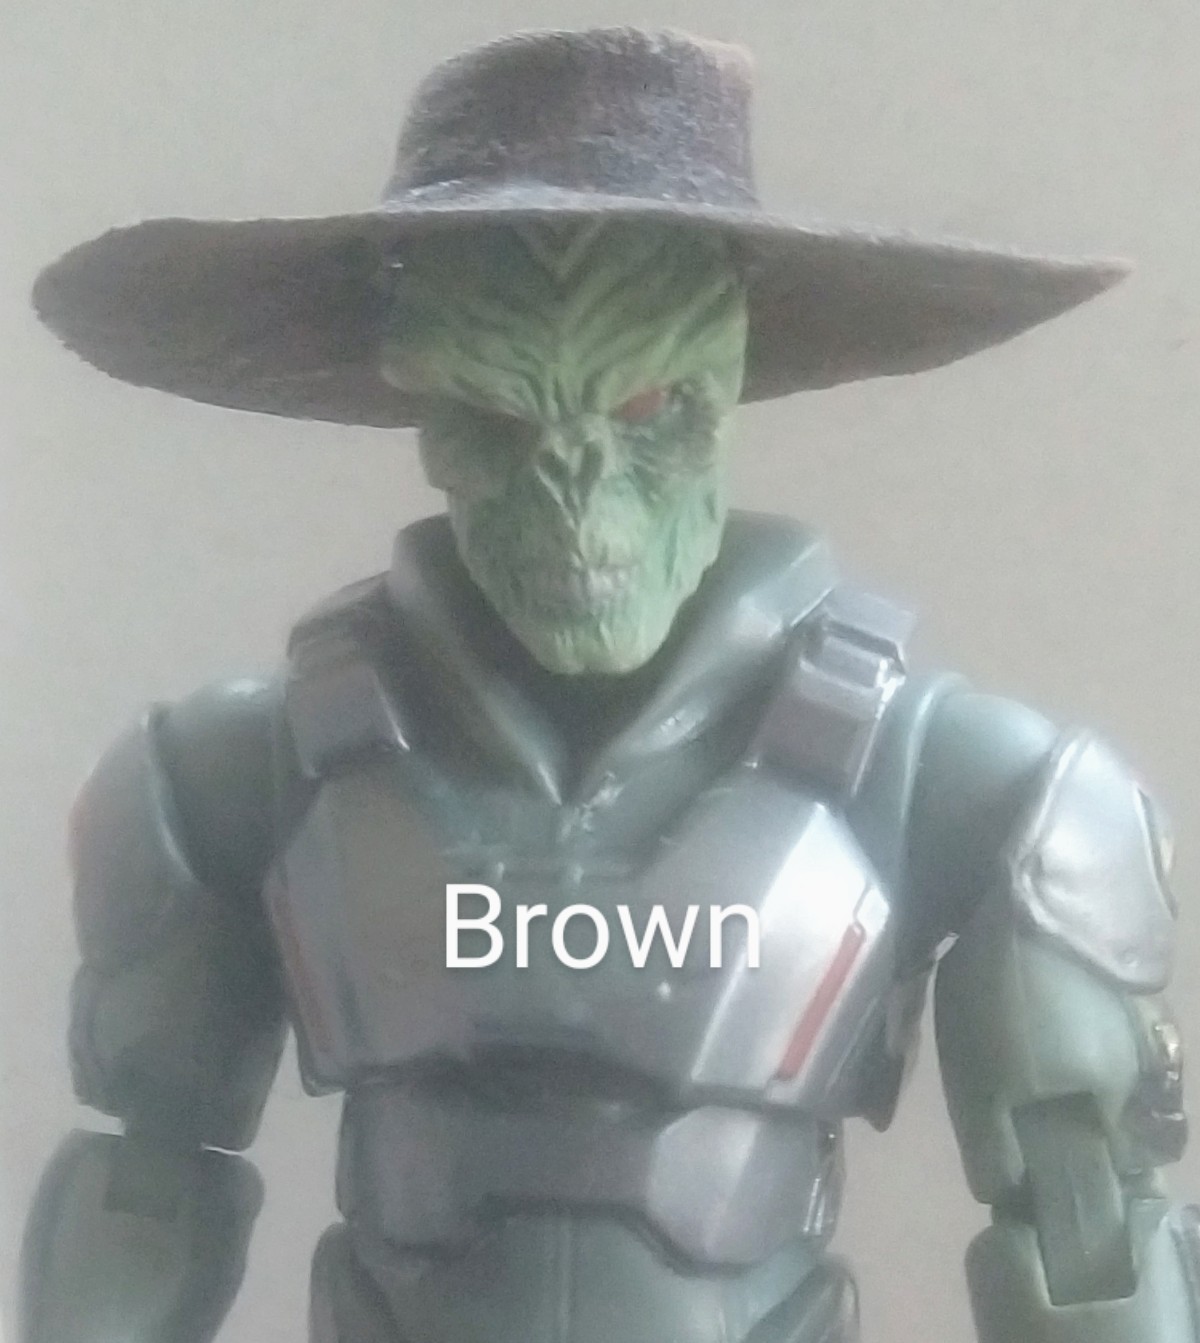
- tshirt in the color you want the hat to end up as, or close to it. I have tried this with dark brown and dark blue
- mod podge (I used matte, haven’t tried glossy)
- water
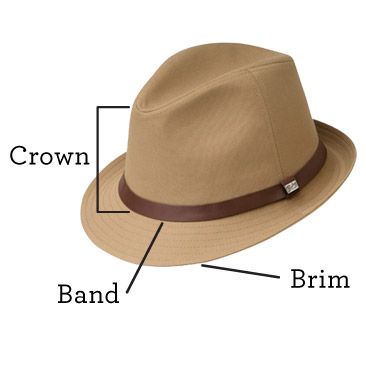
Before we go on, take a look at the parts of hat so you’re familiar with the terms.
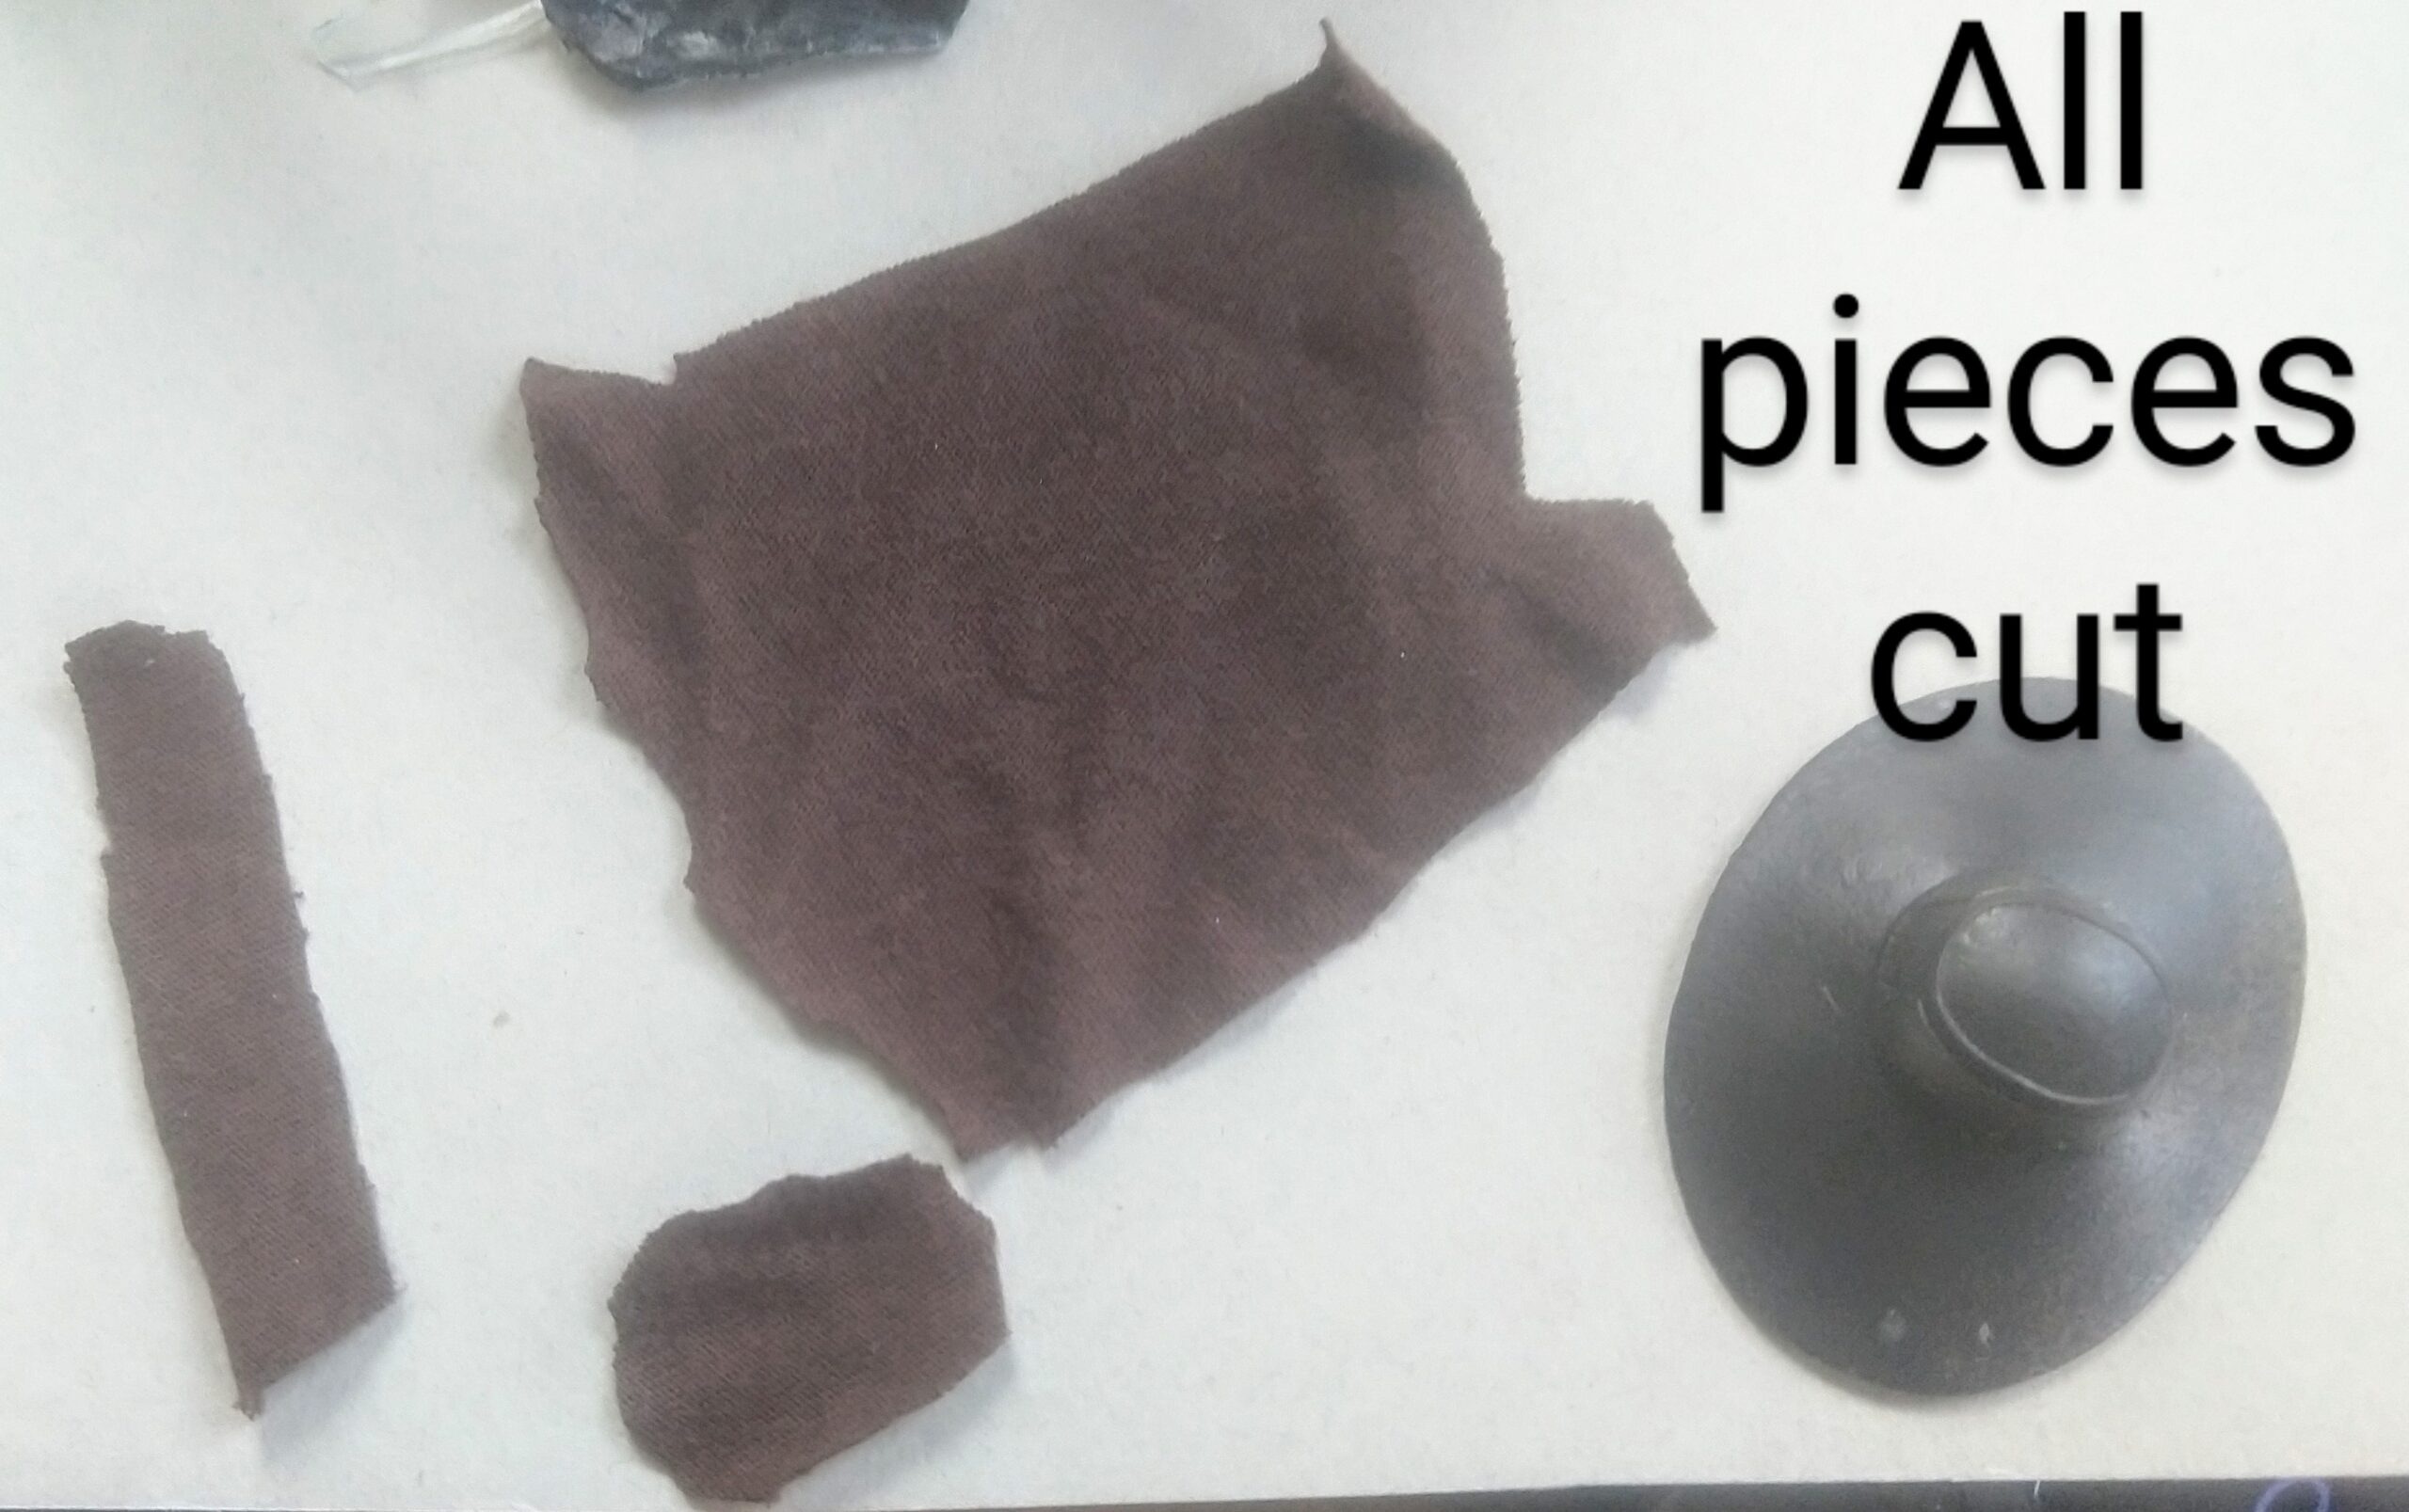
1) First cut a small thin strip from your tshirt to to wrap around the crown. Doesn’t have to be exact, but needs to be very close to the right length to wrap around perfectly. It can be taller than you need since you can trim it later (or if you want to make a taller crown).
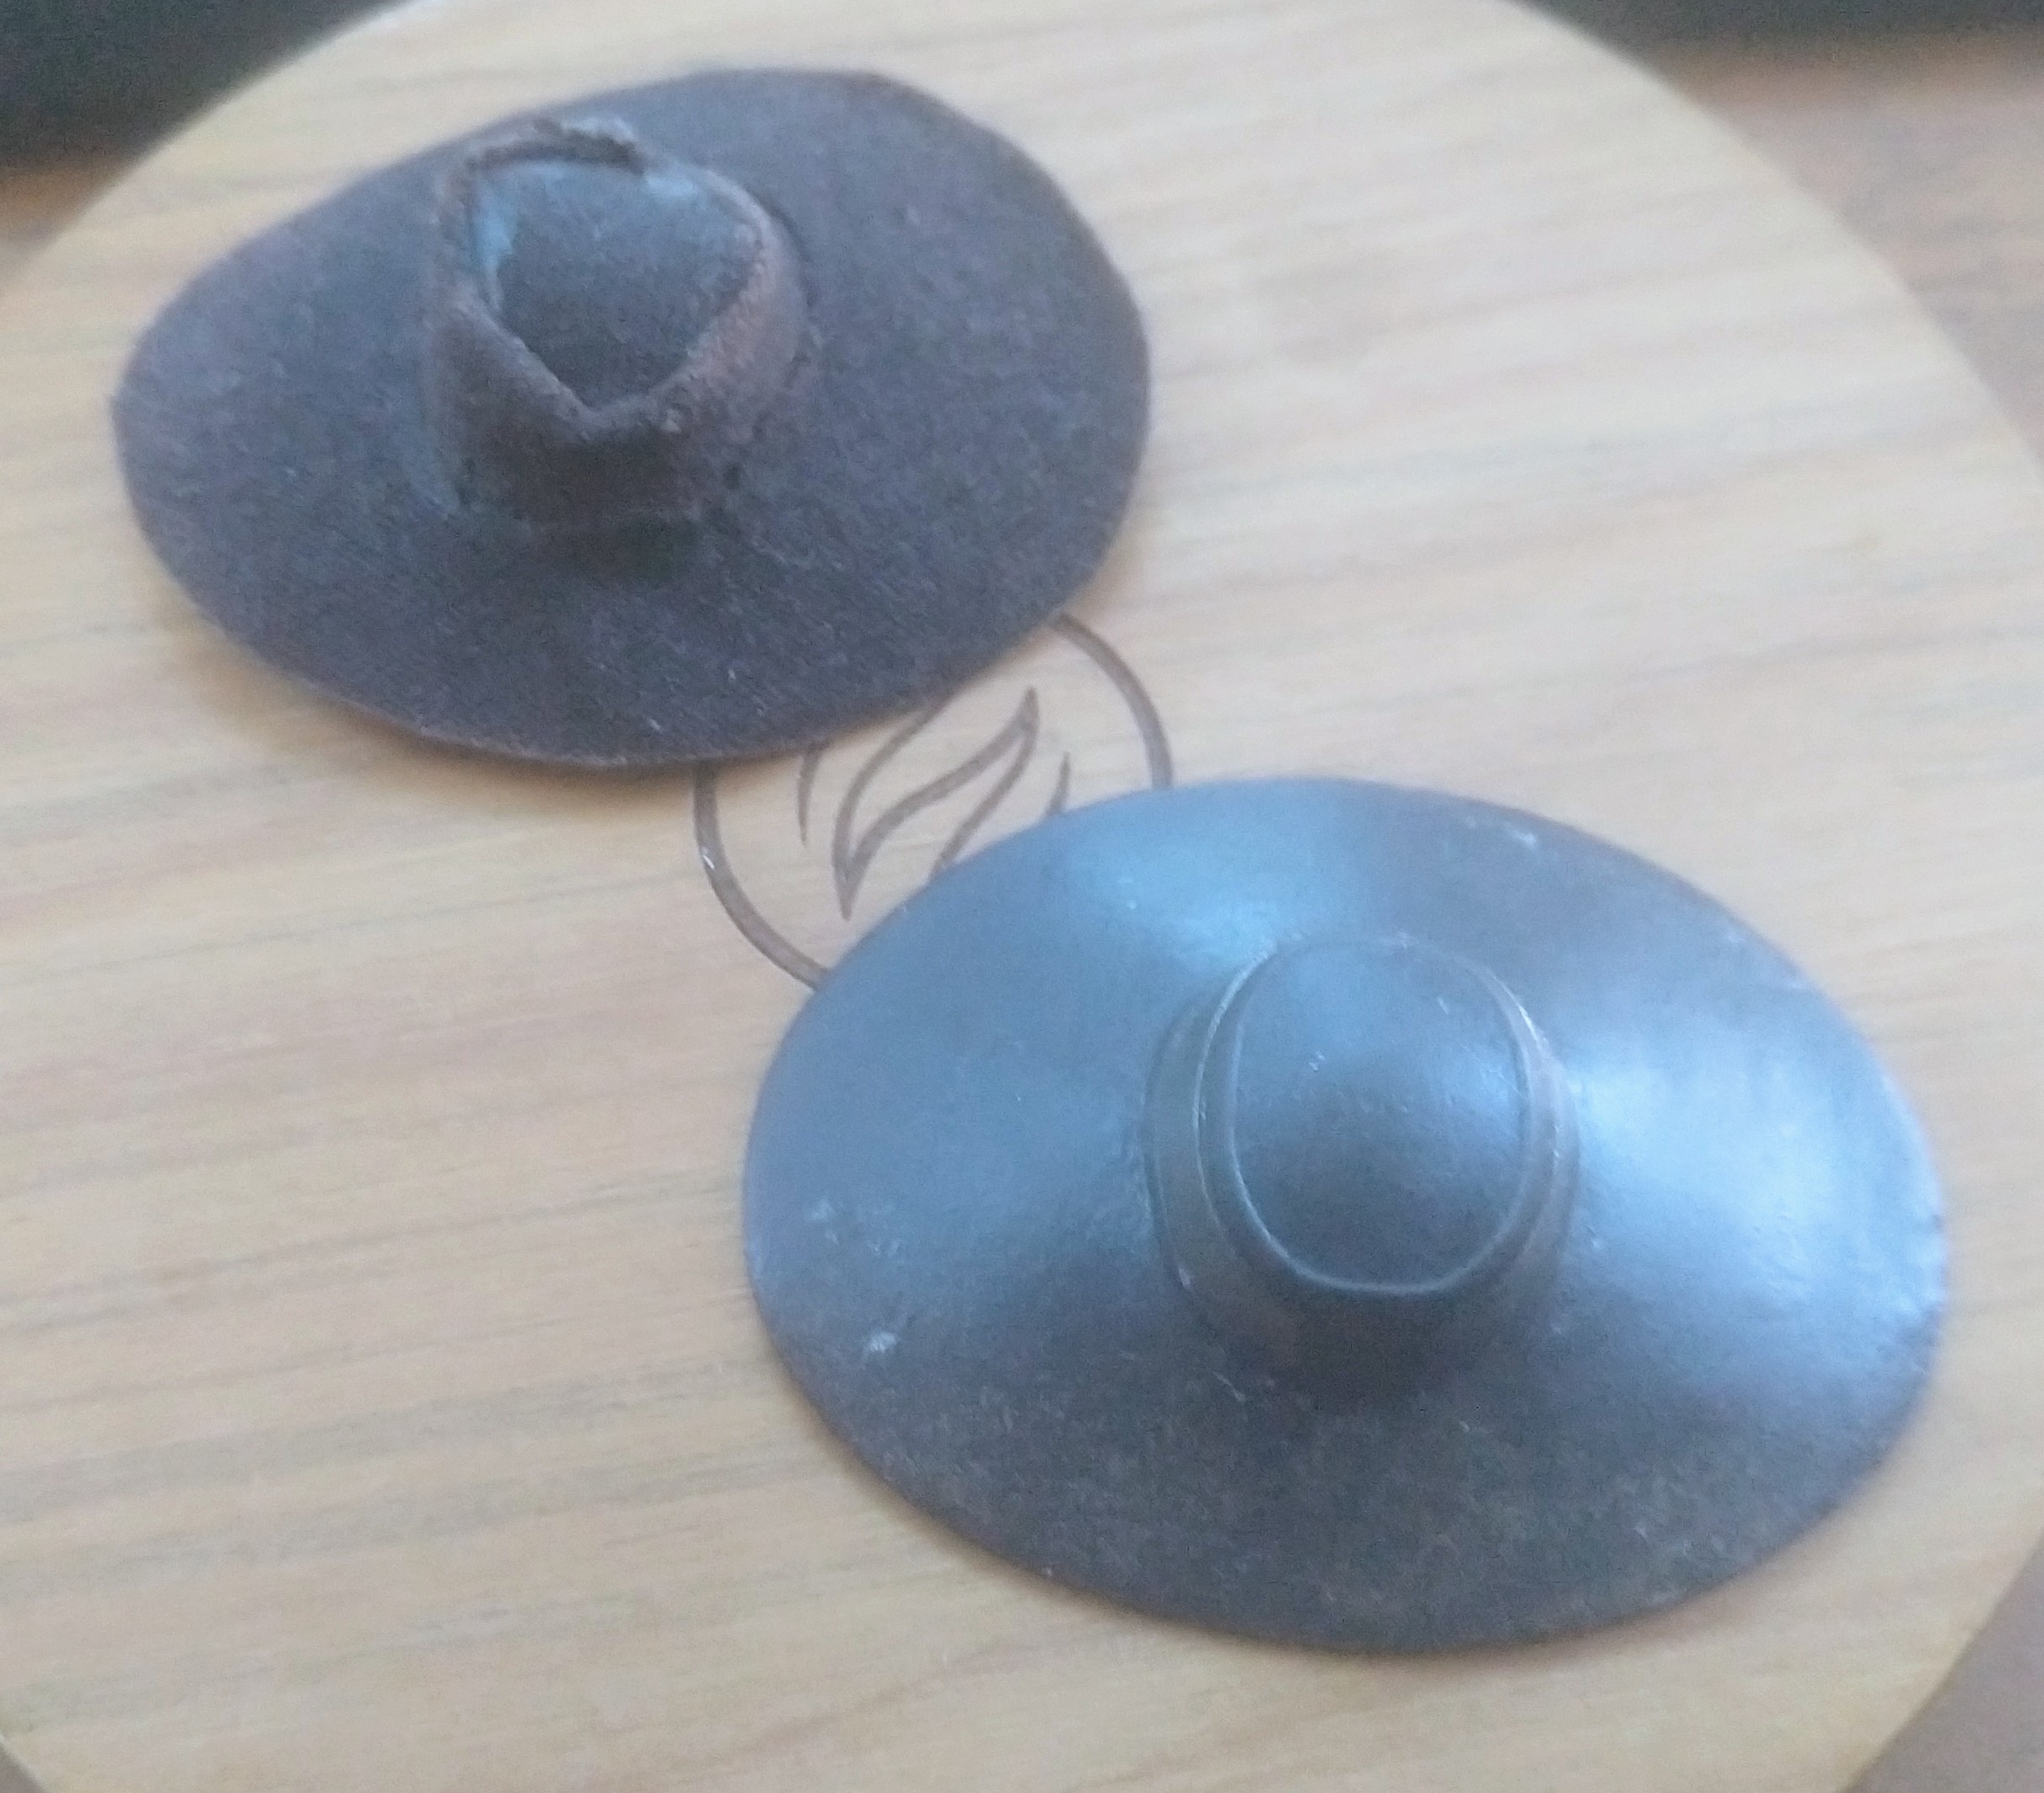
2) Cut out a piece that will fit over the crown to be the brim. You want it to be bigger than you need by a bit – you can trim it later. Set the existing hat on your shirt as a template and cut it roughly the right size. I’d keep maybe 1/4 inch or so extra around the edge.
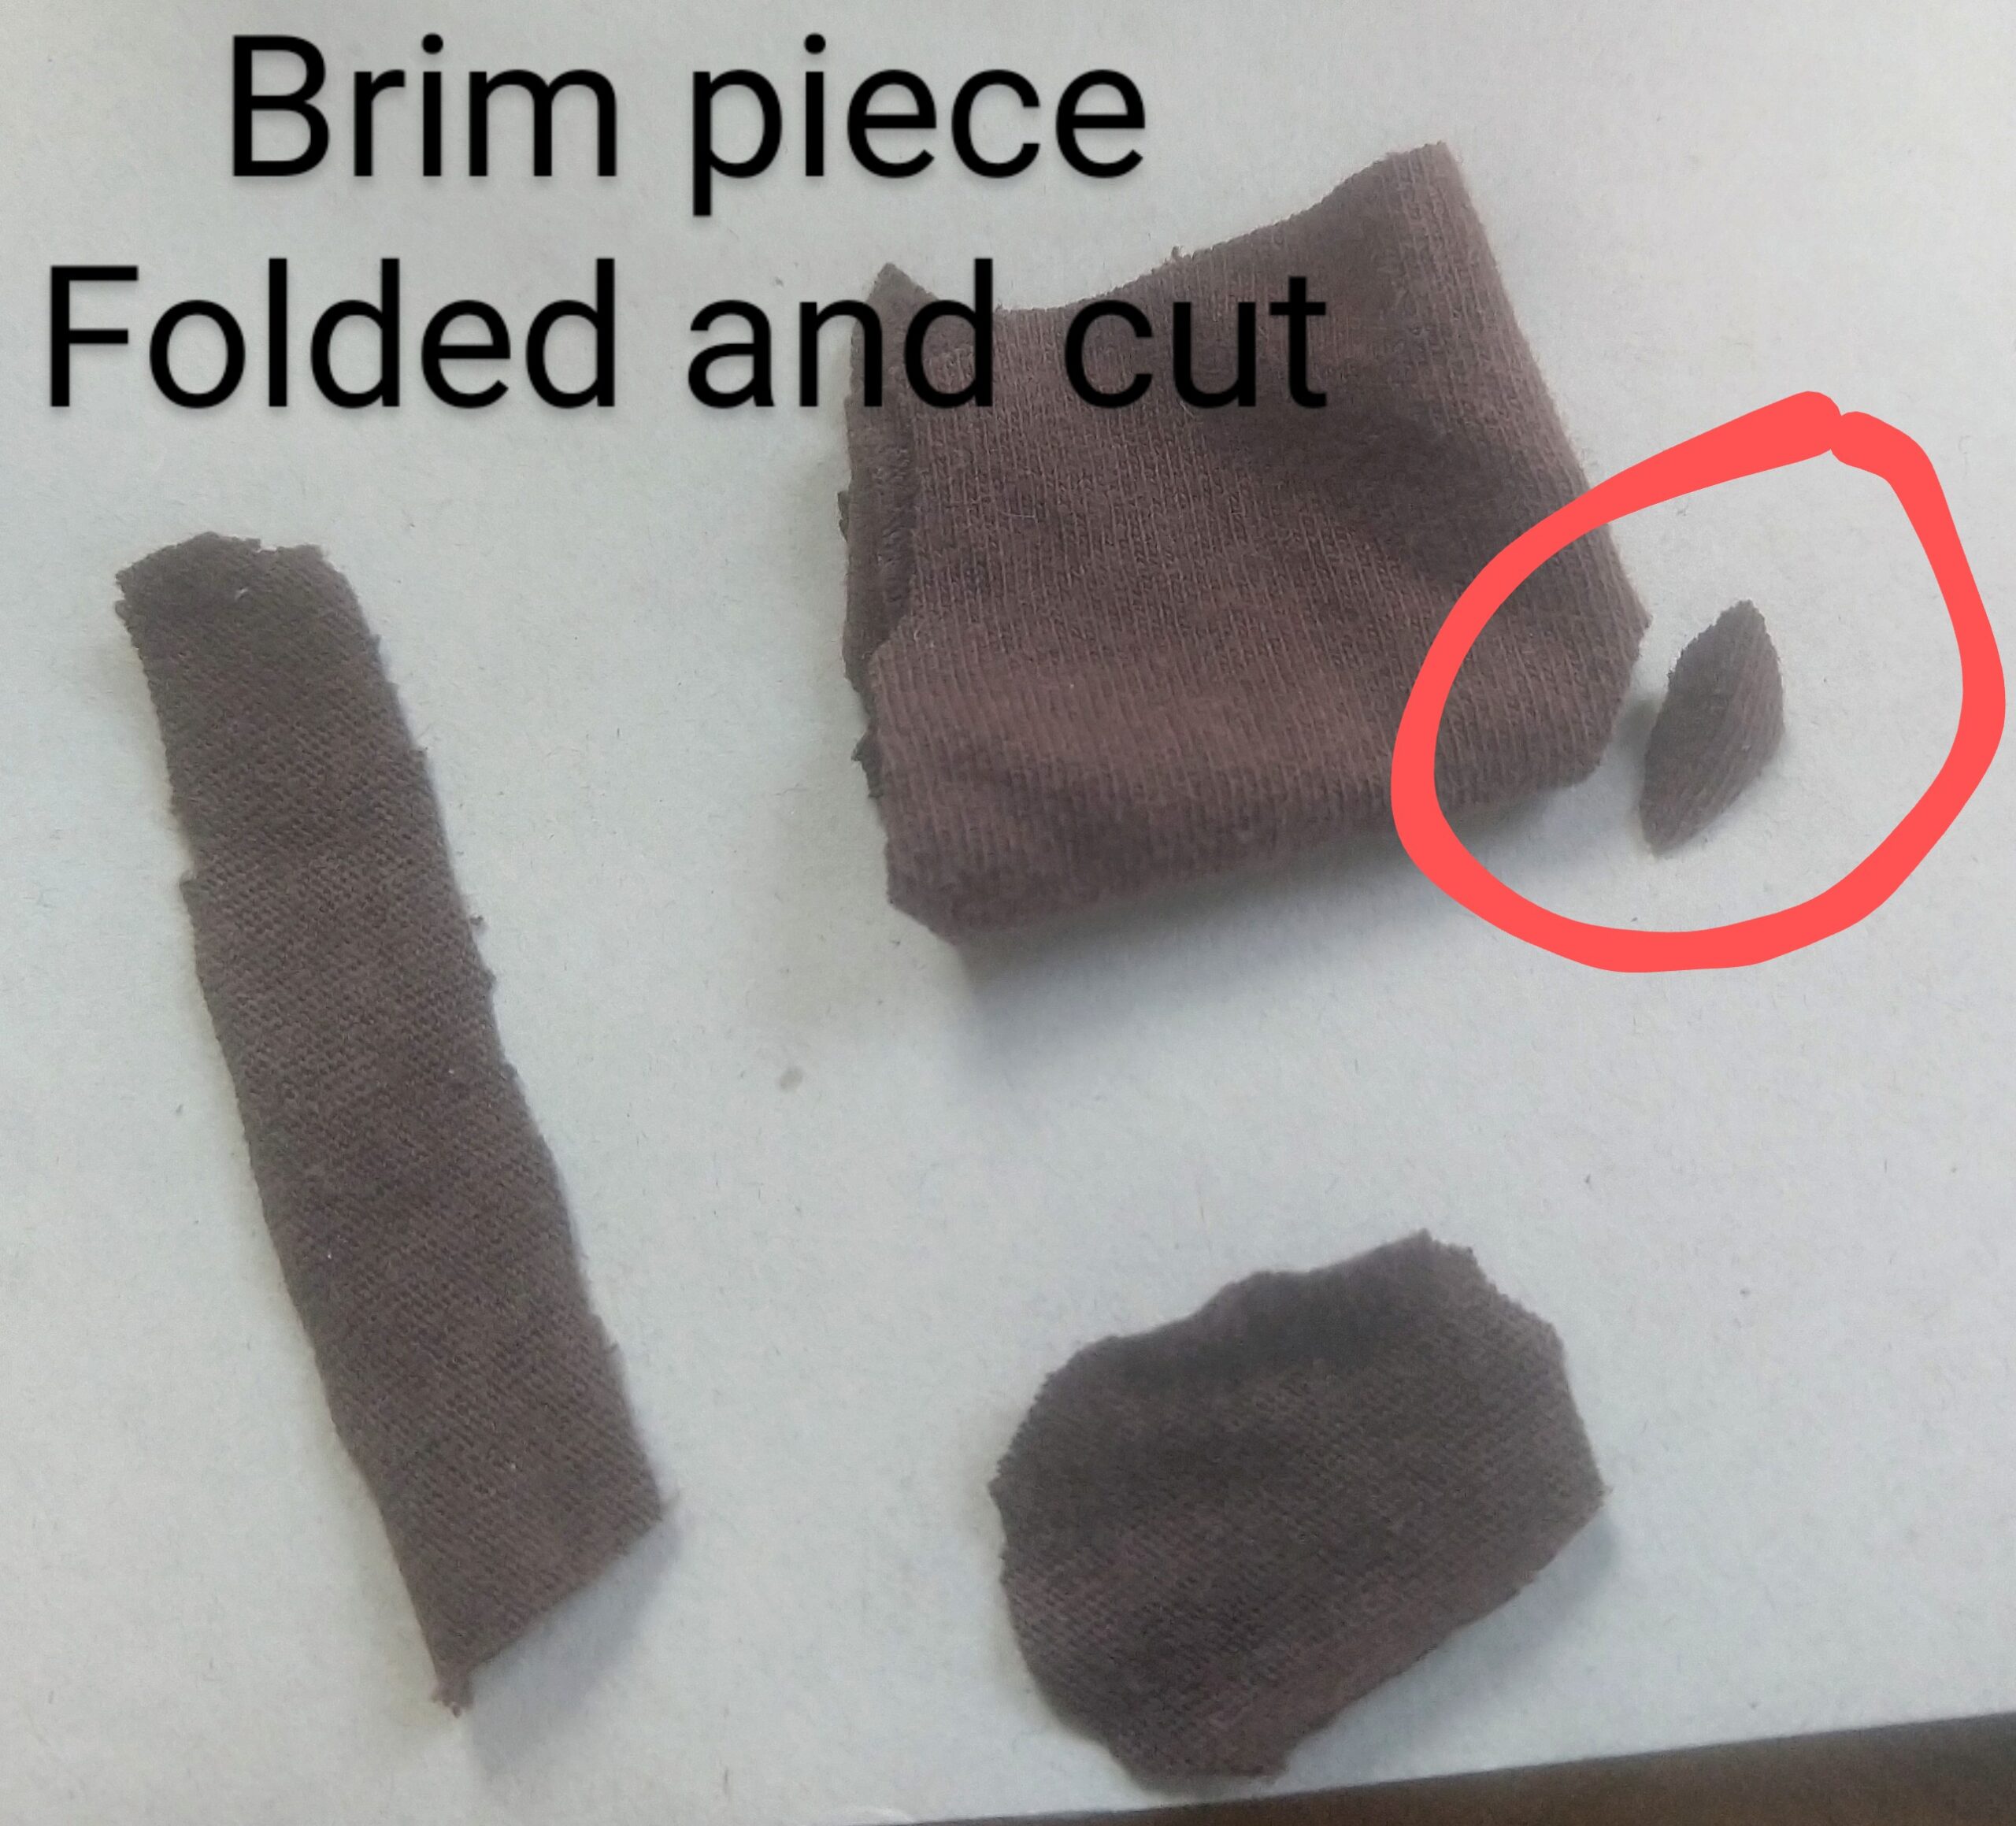
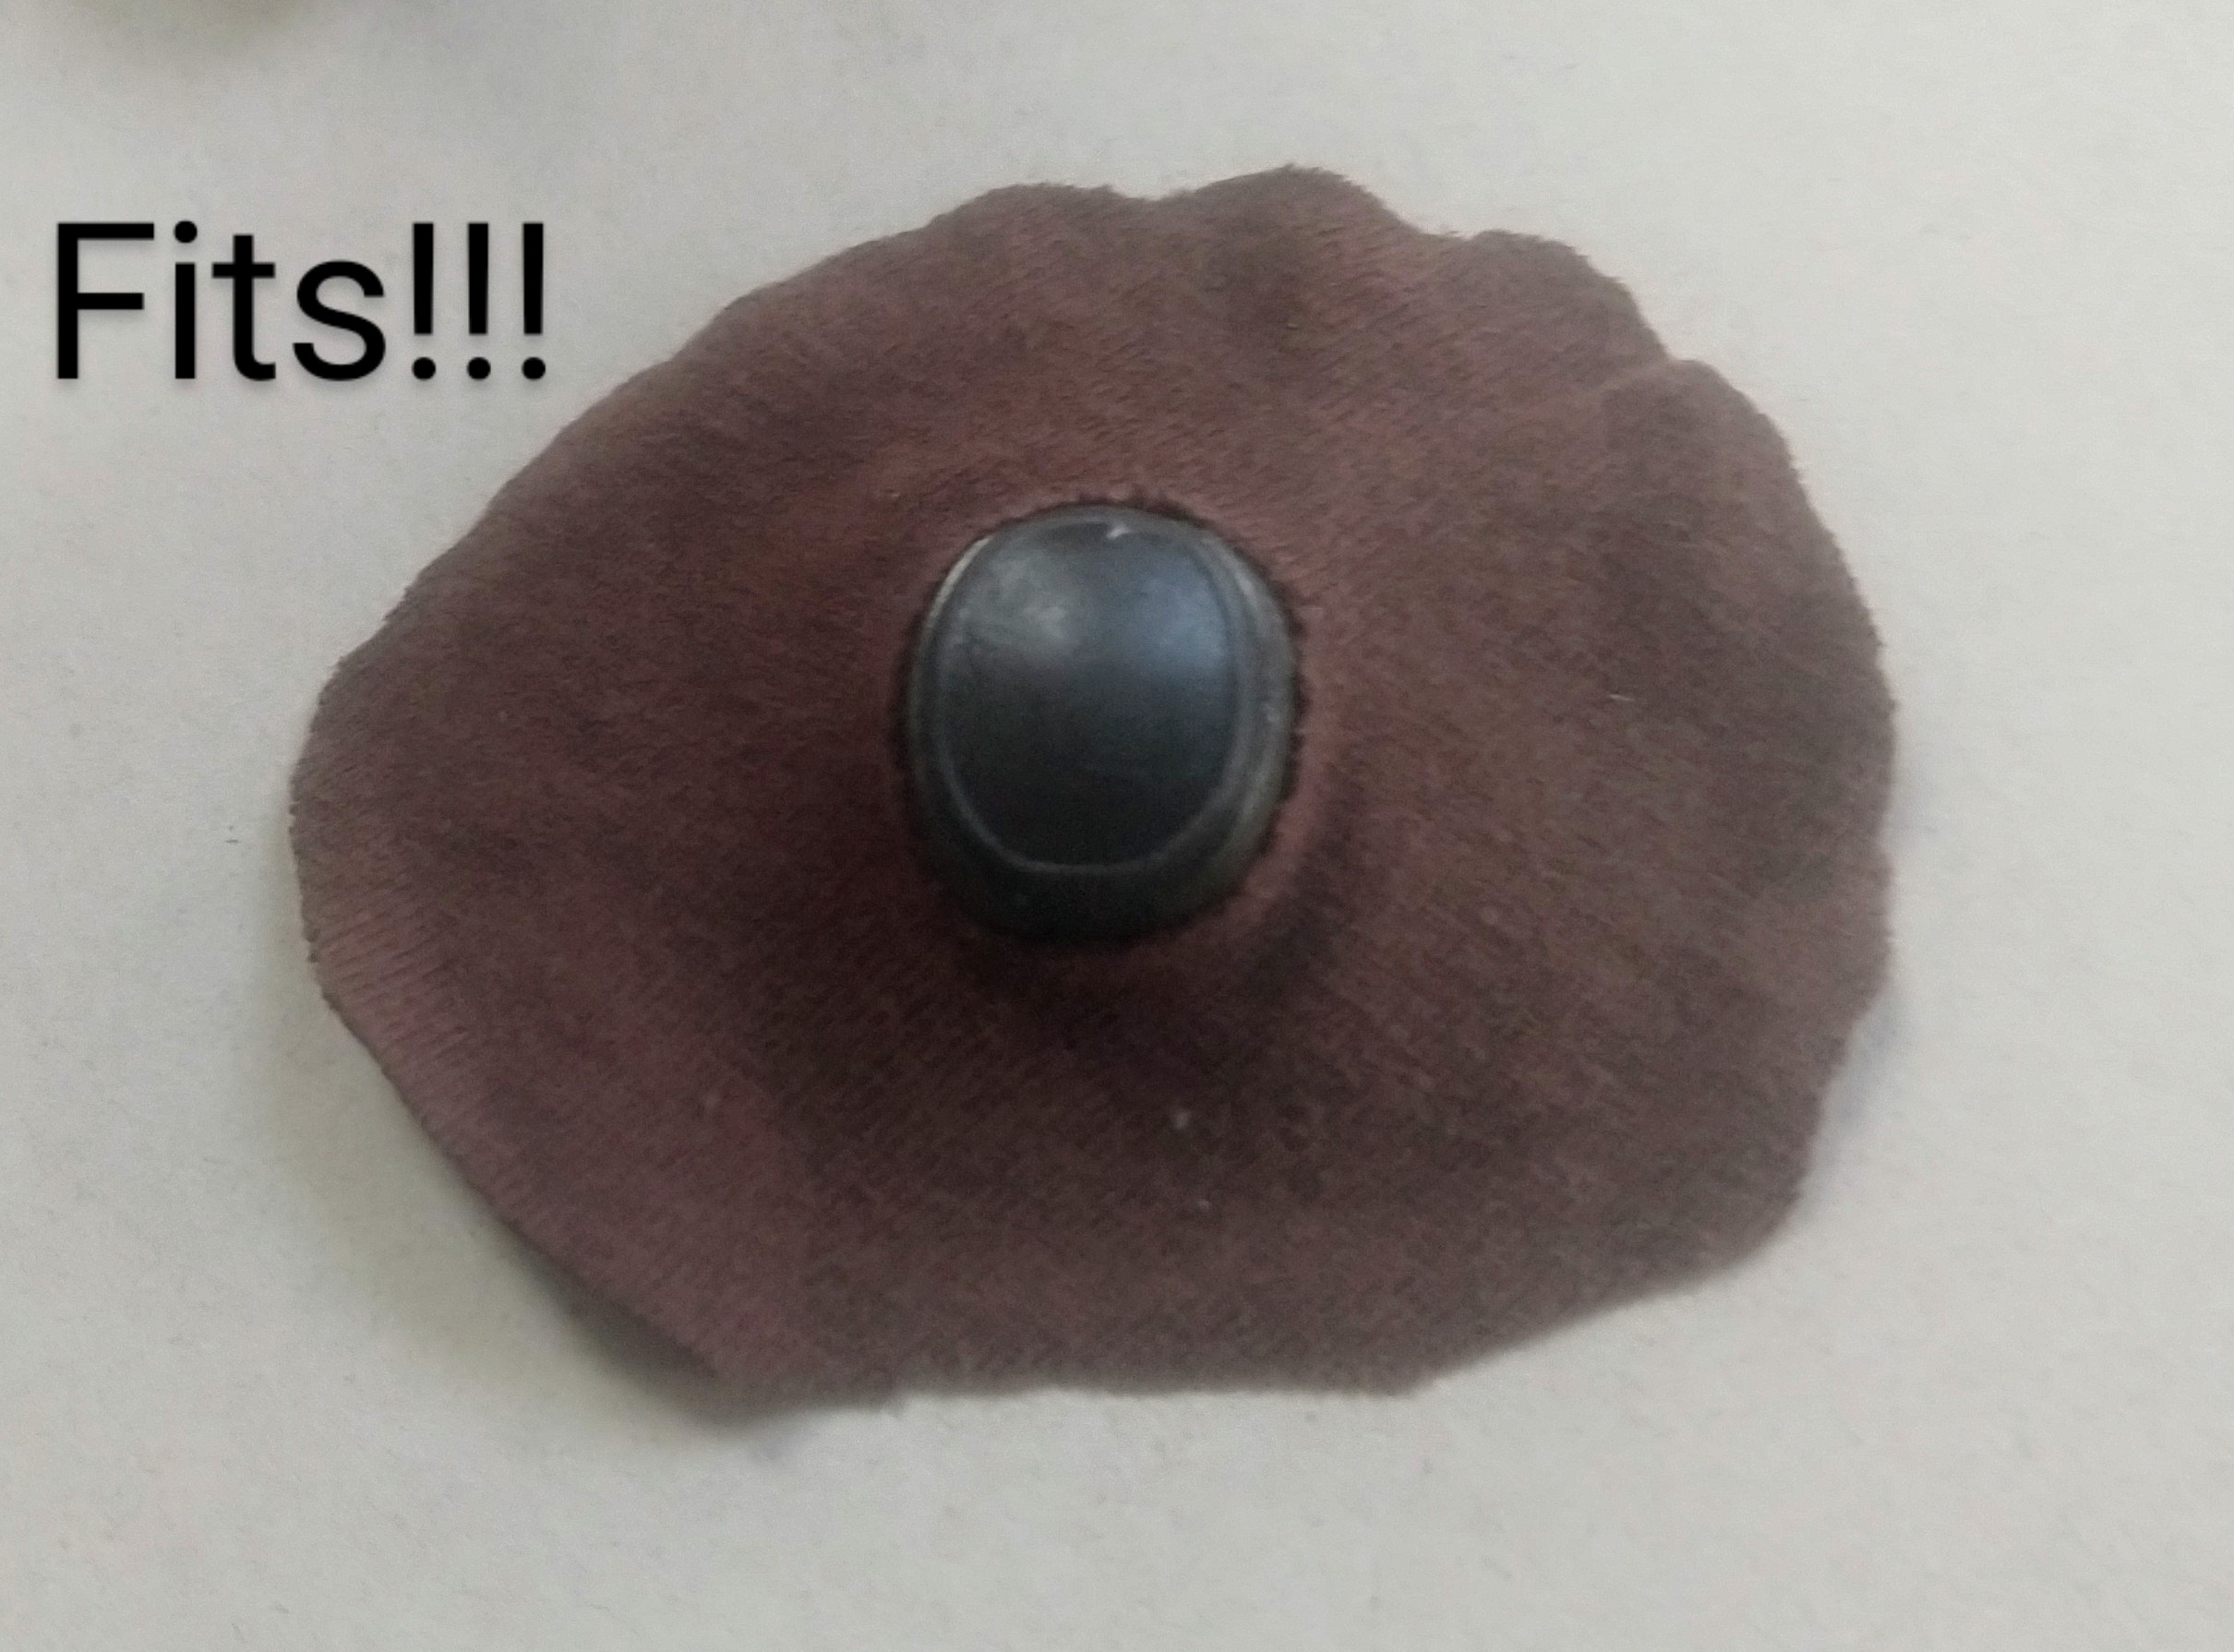
3) Now take the piece from #2 and fold it over half twice and cut a very small piece of the folded corners (so you get all 4 pieces in the cut to make a hole in the center). Cut smaller than you think you need – it’s really easy to cut too much. Ask me how I know. This will be where the crown sticks through. Try it on your hat to make sure it fits, if not, cut a little more (or start over if the hole is too big)

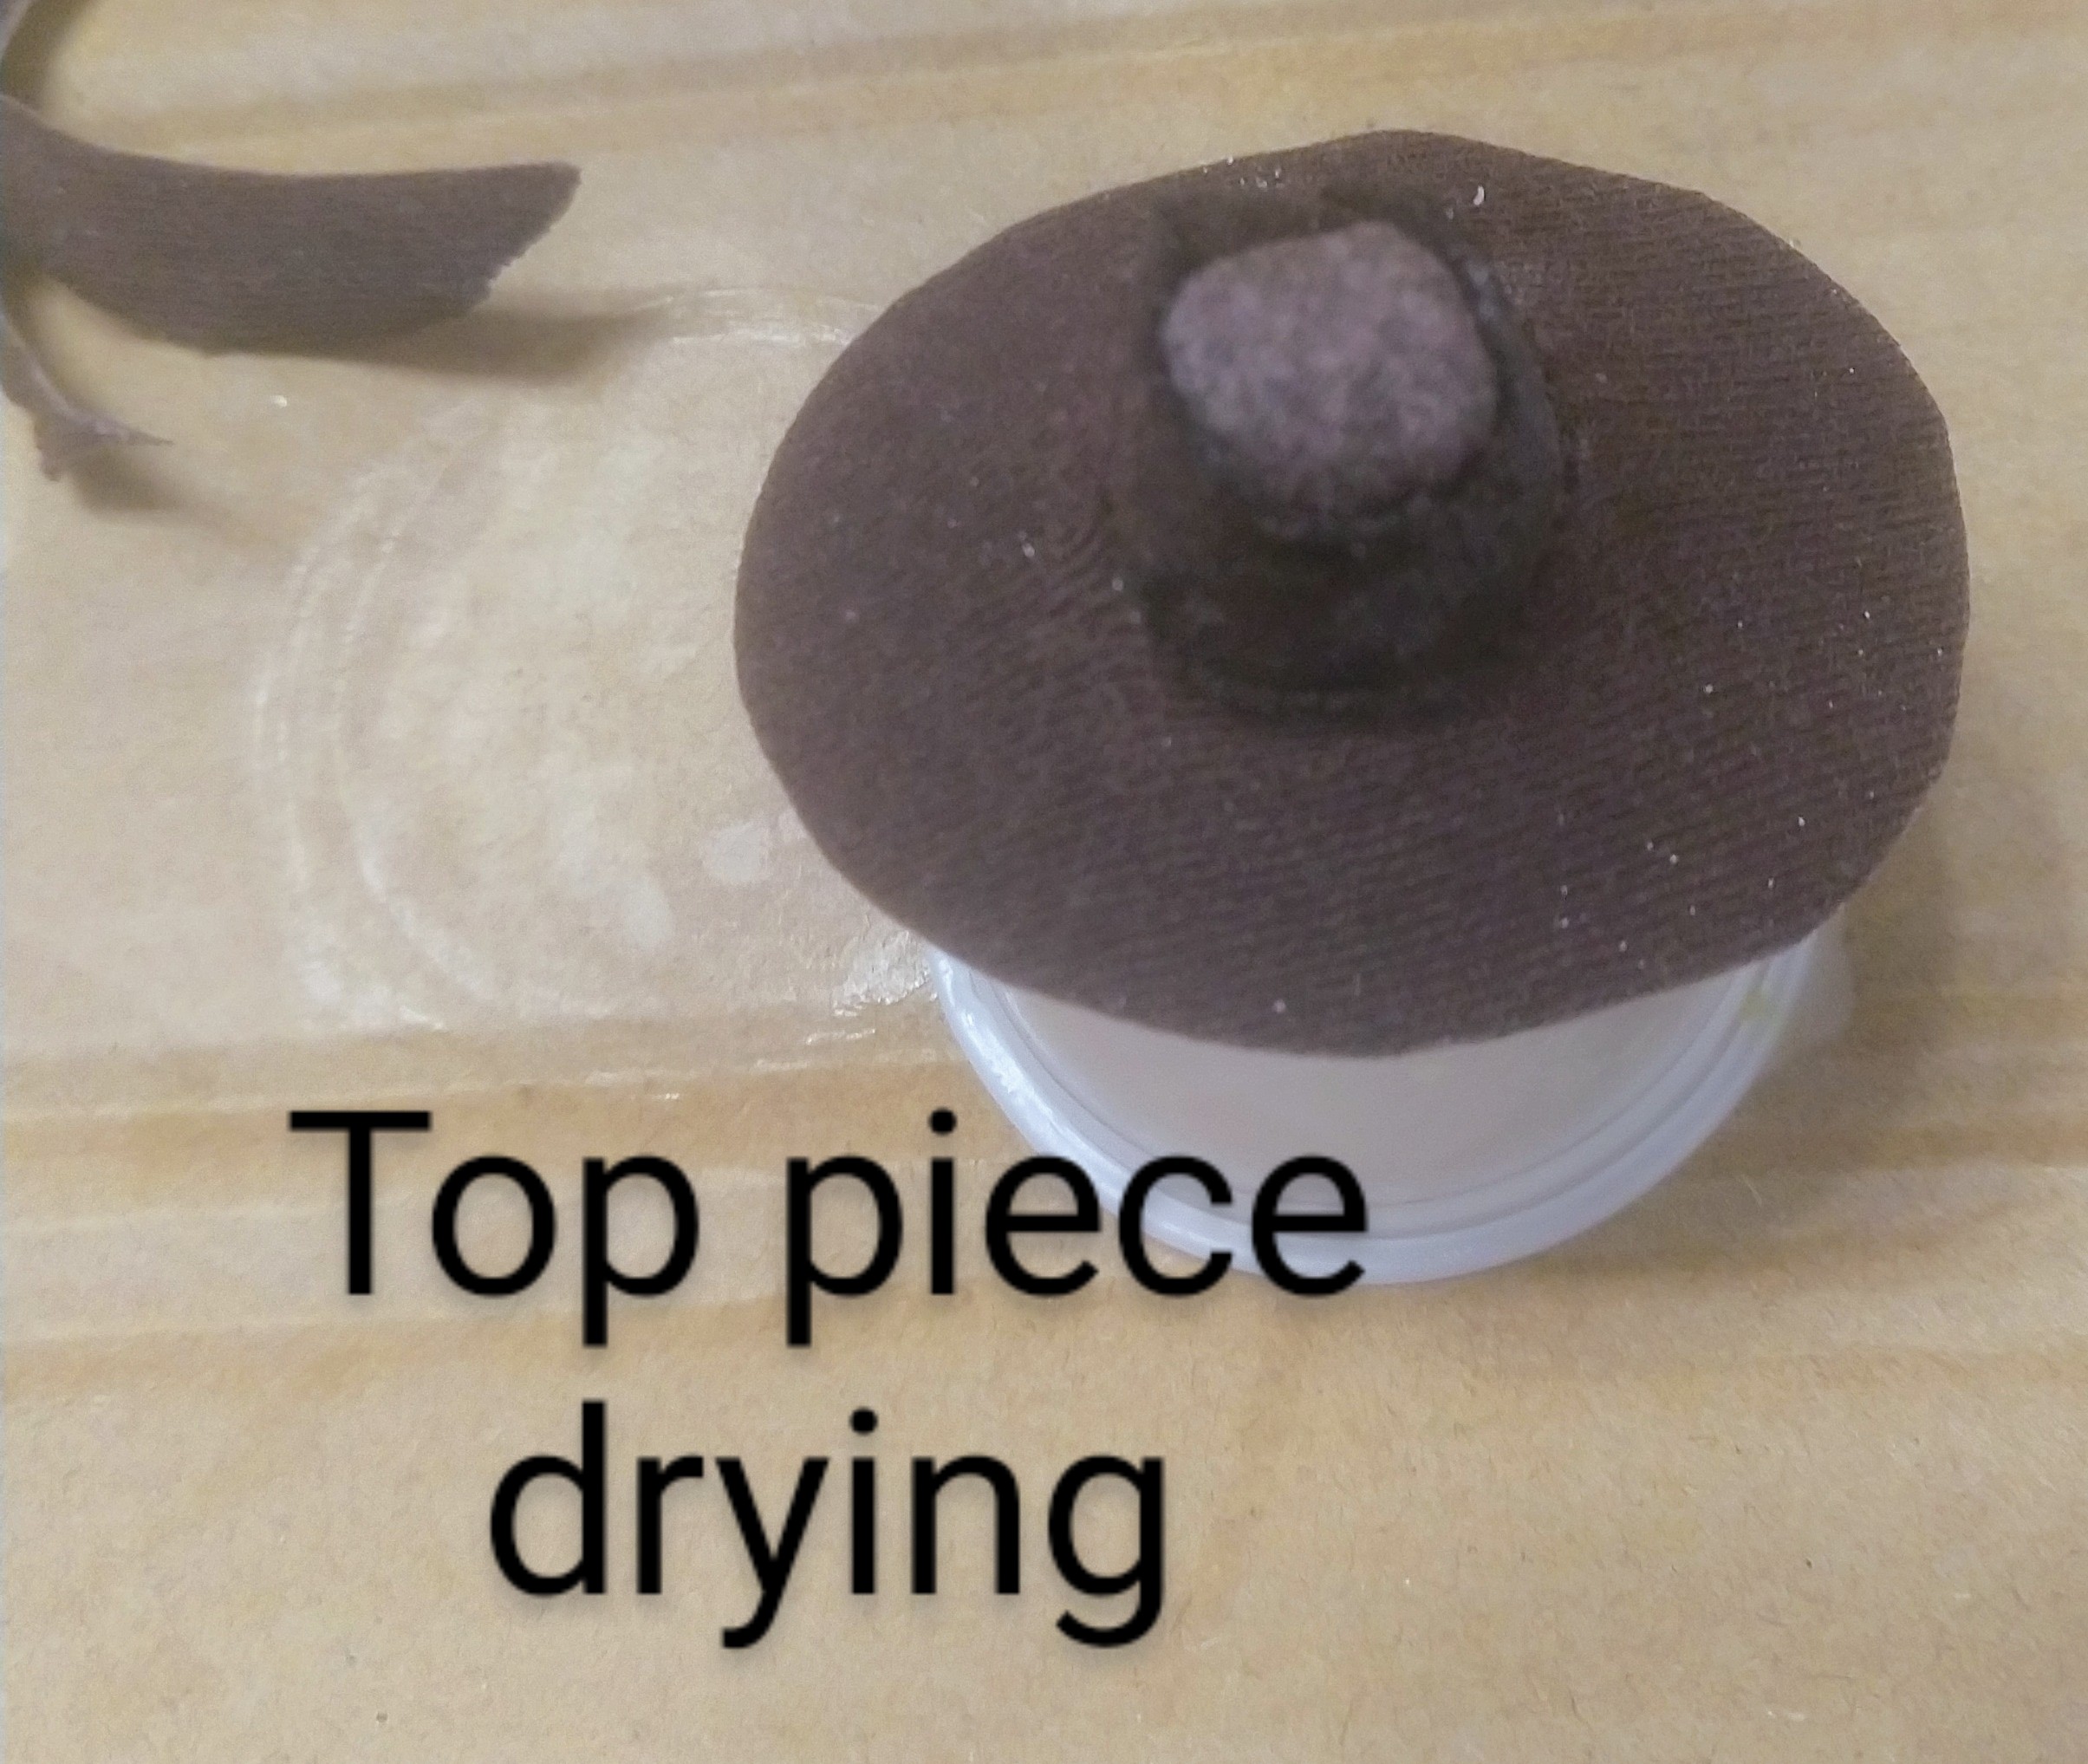
4) Now cut a small roundish piece of fabric to be the top of the crown. Again, make it a bit bigger than you need.
5) ok, now that you have the 3 pieces ready, Mix a small amount of modpodge and water in a 50/50 ratio. You need enough to soak the three pieces.
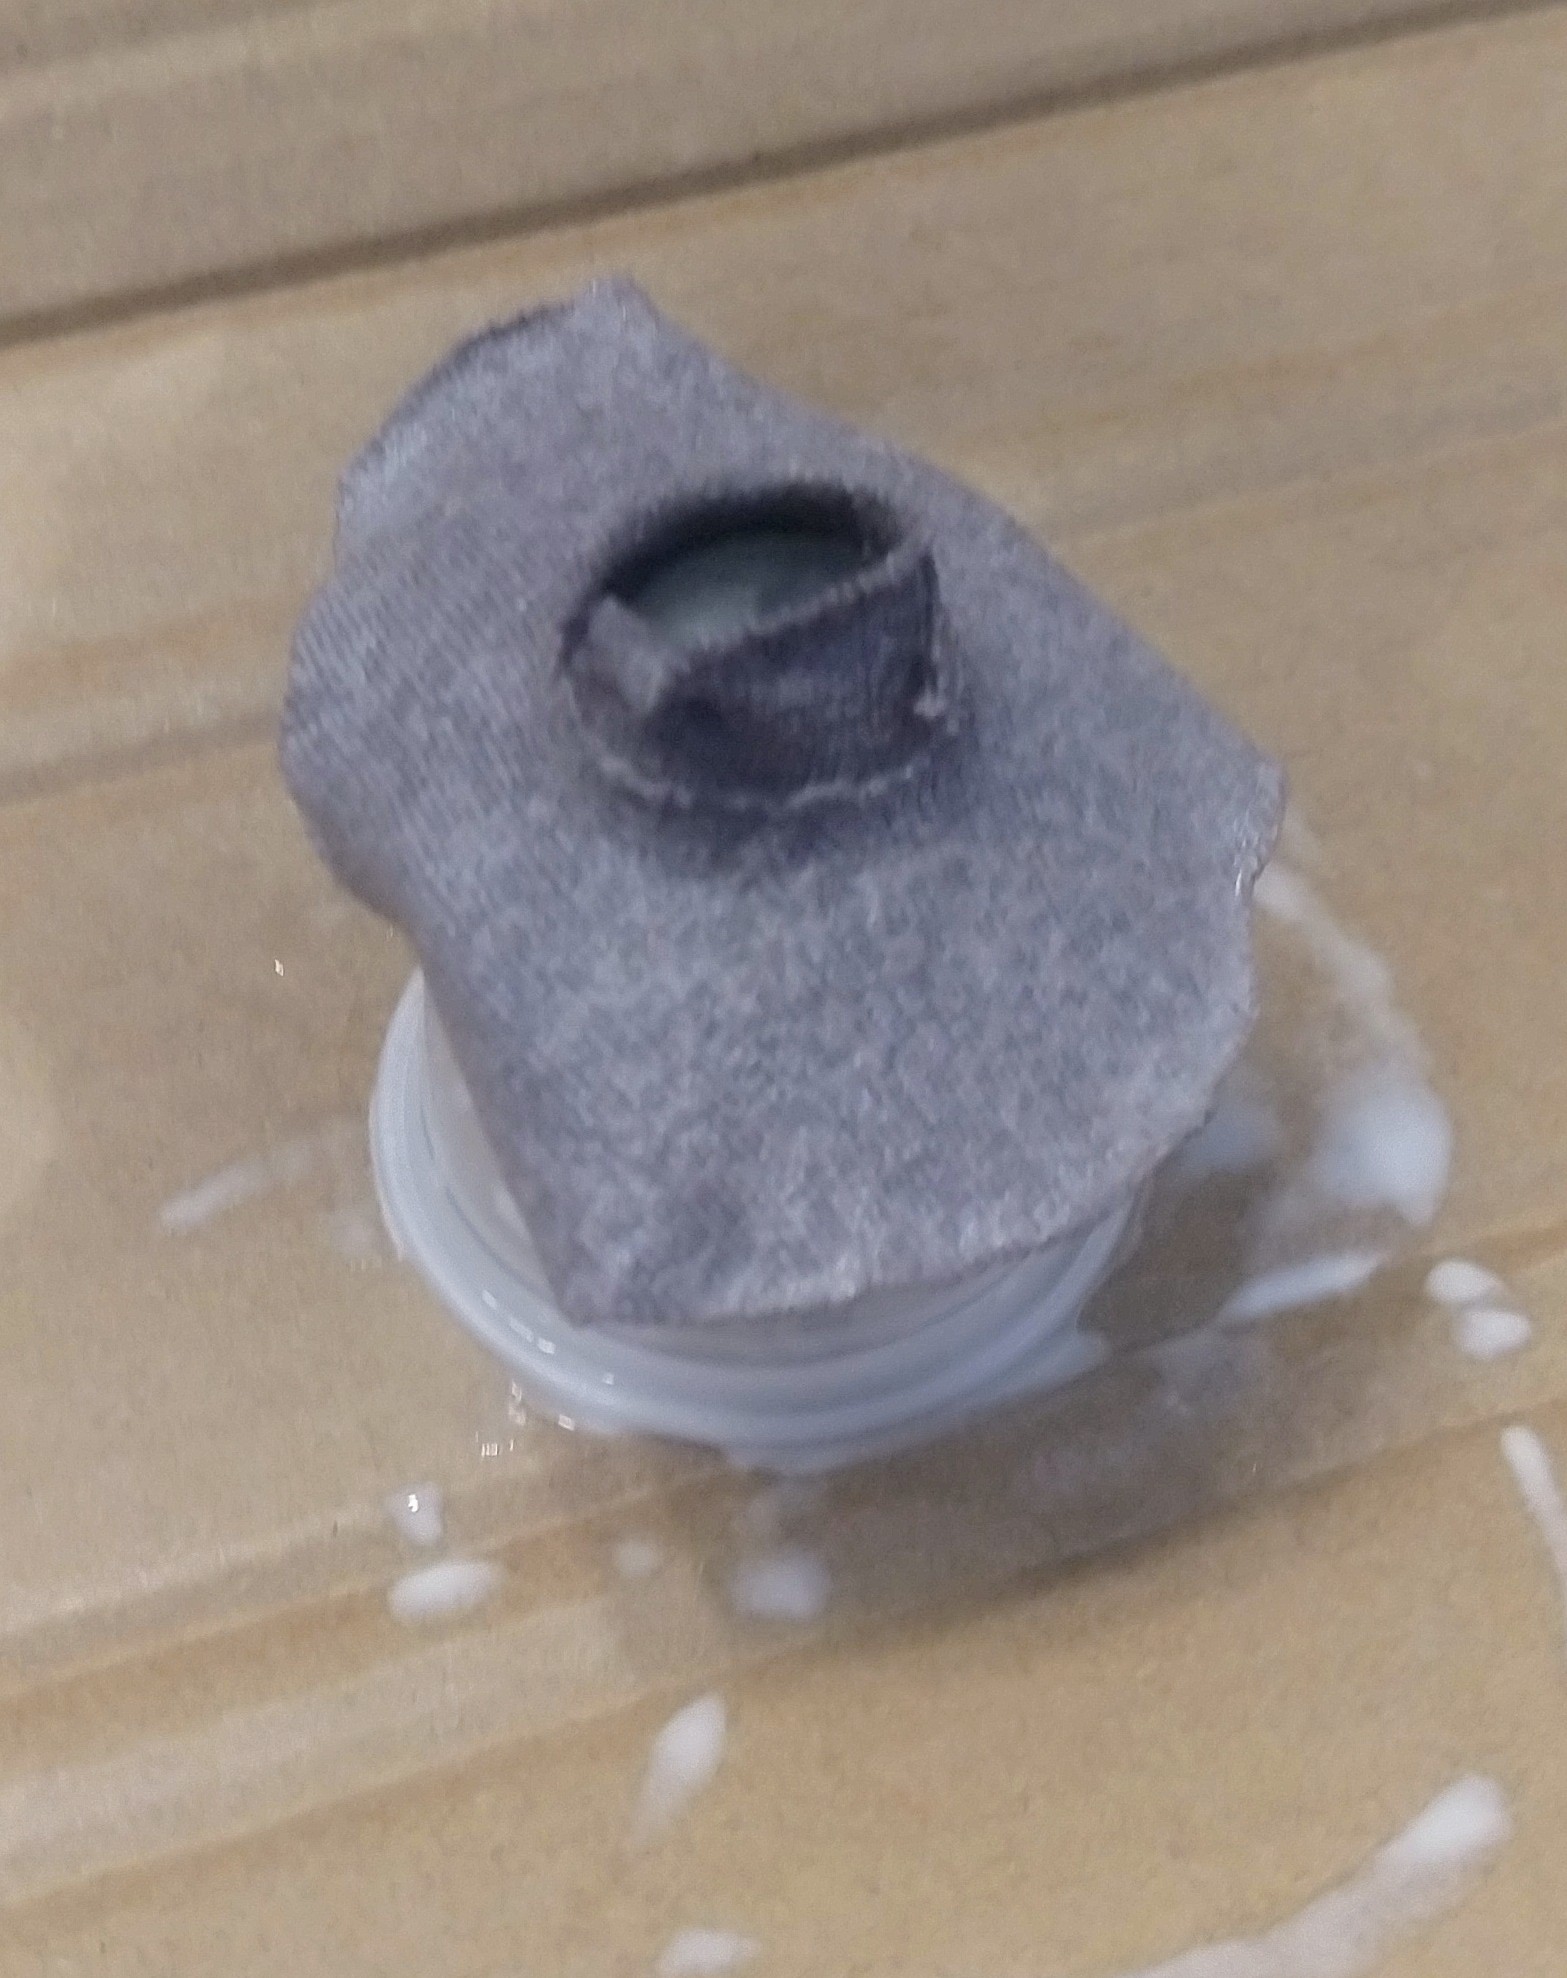
6) put the brim and crown pieces in the modpodge mixture but don’t put the top piece in yet. They just have to get thoroughly wet. Only takes a few seconds.
7) now wrap the thin strip around the crown of your existing plastic hat. Once that’s in place, put the brim piece on over it, making sure to adjust everything after you slide it on so that it looks right.
8) Now set it somewhere so it can dry. Put it in the sun if you want to. You might be able to use a blow dryer to hasten the process, Maybe? (I haven’t tried this)
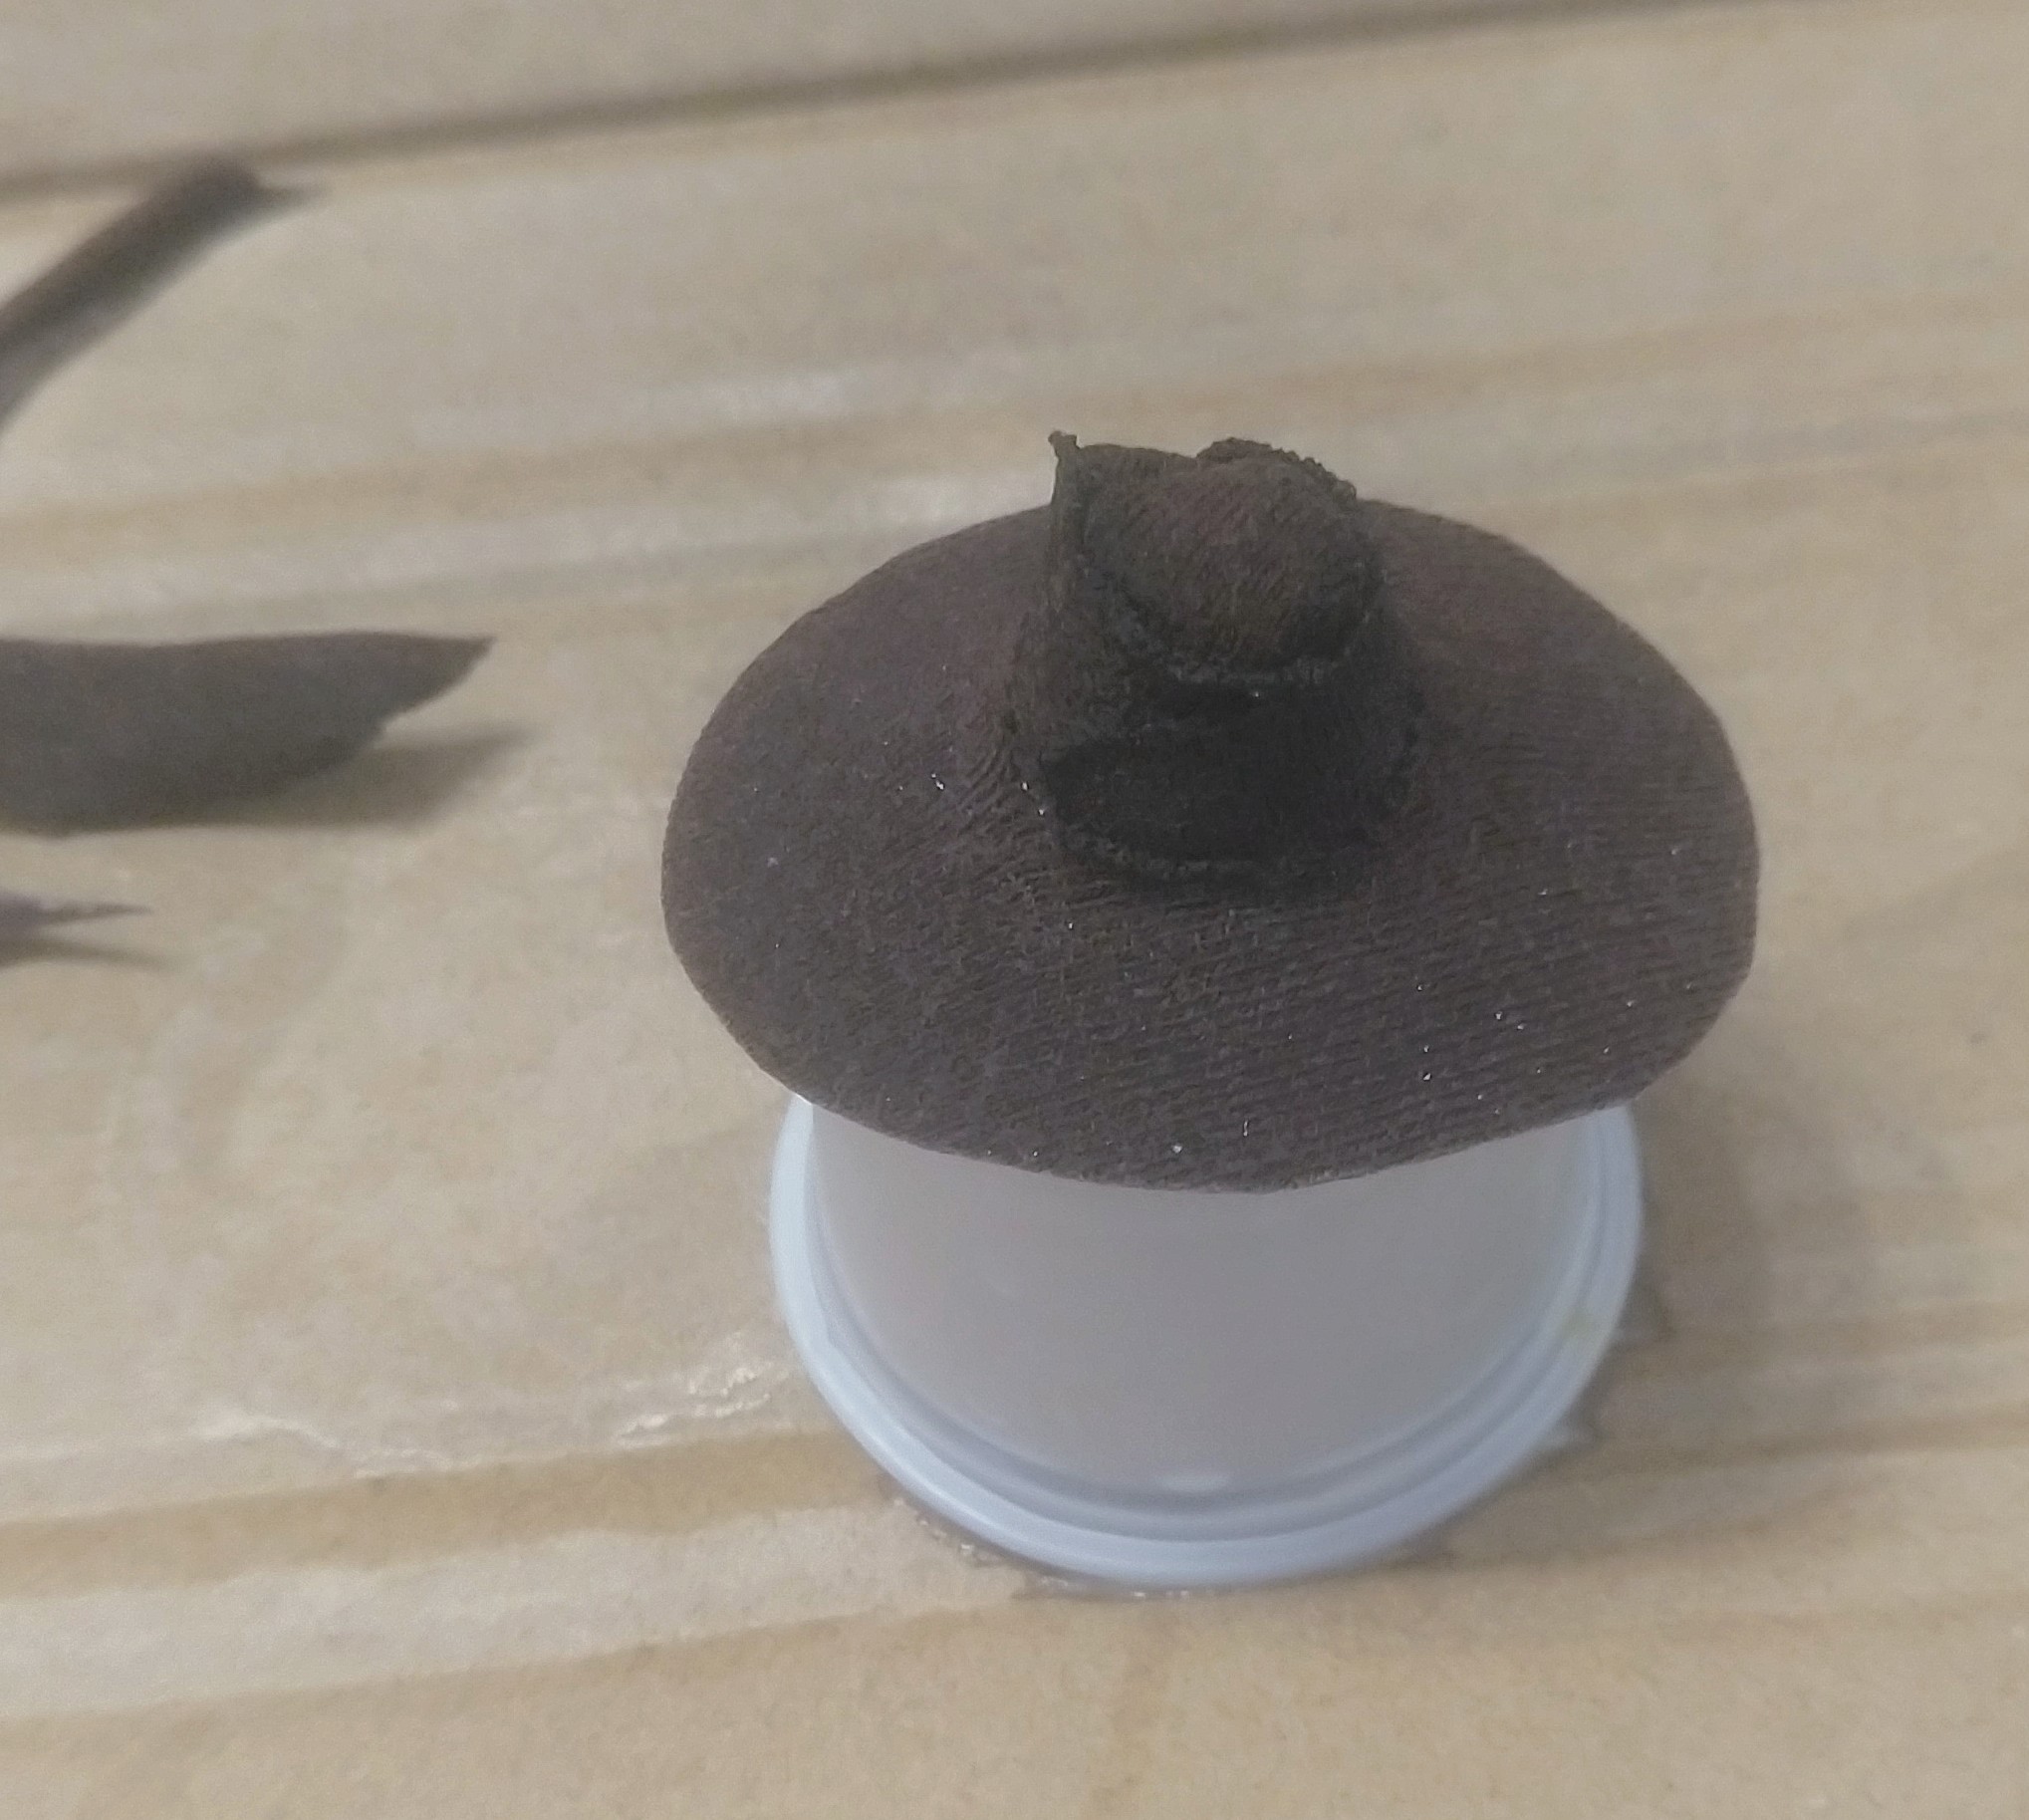
9) Once it’s dry, remove your new hat from the existing hat. It should pop off pretty easily. You should now have a hat with no top.
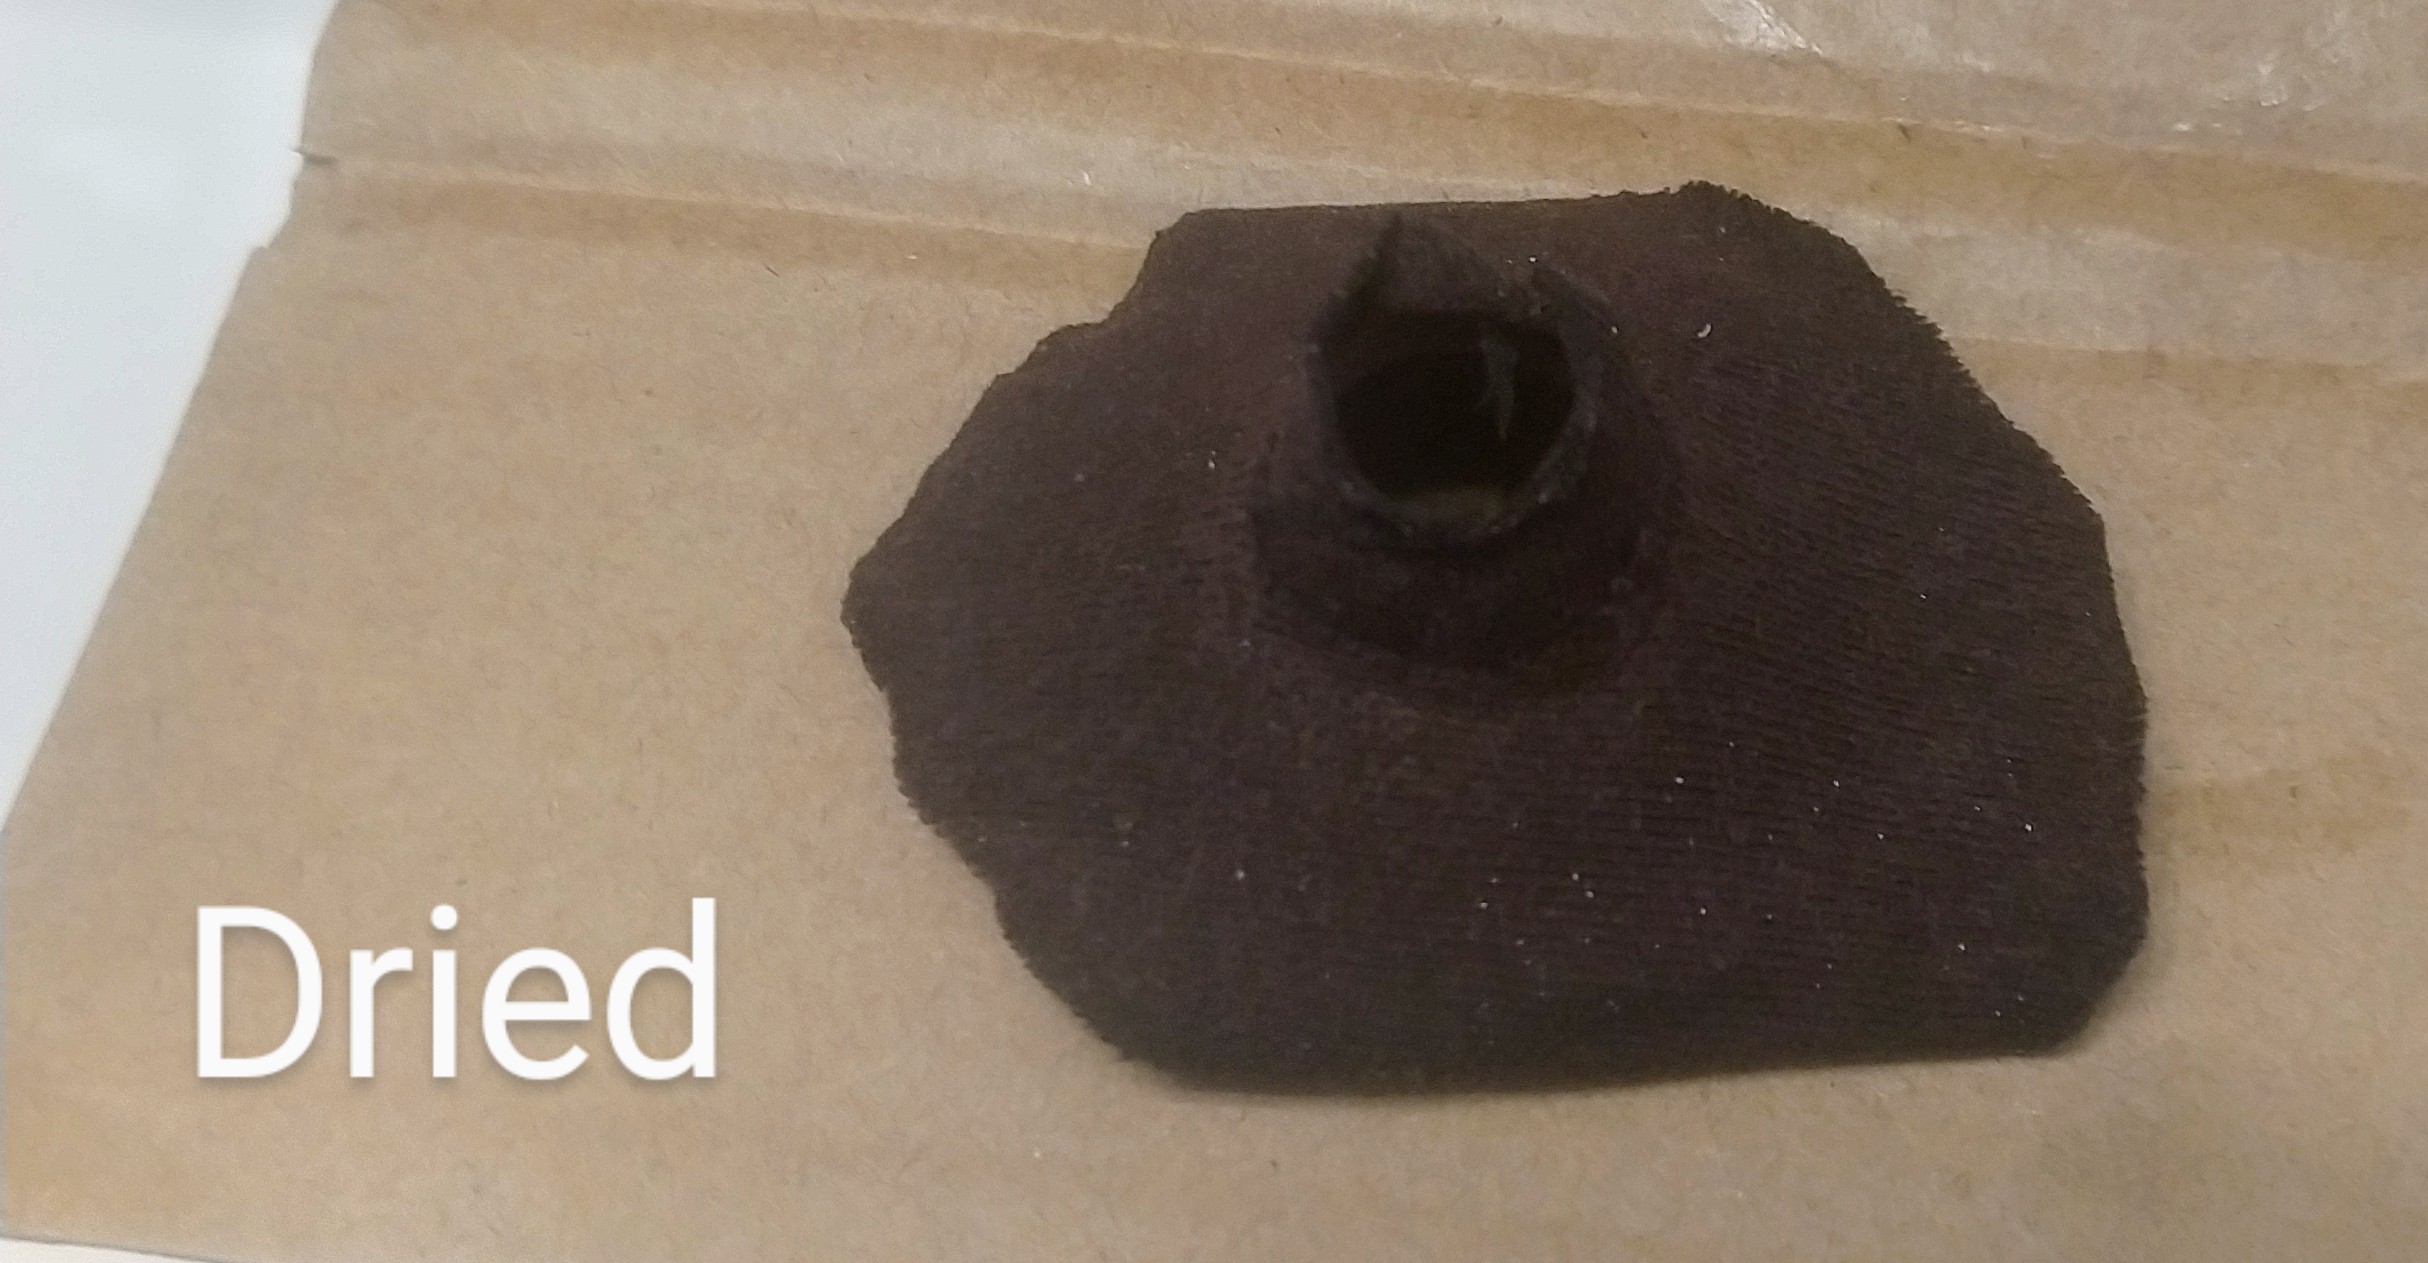
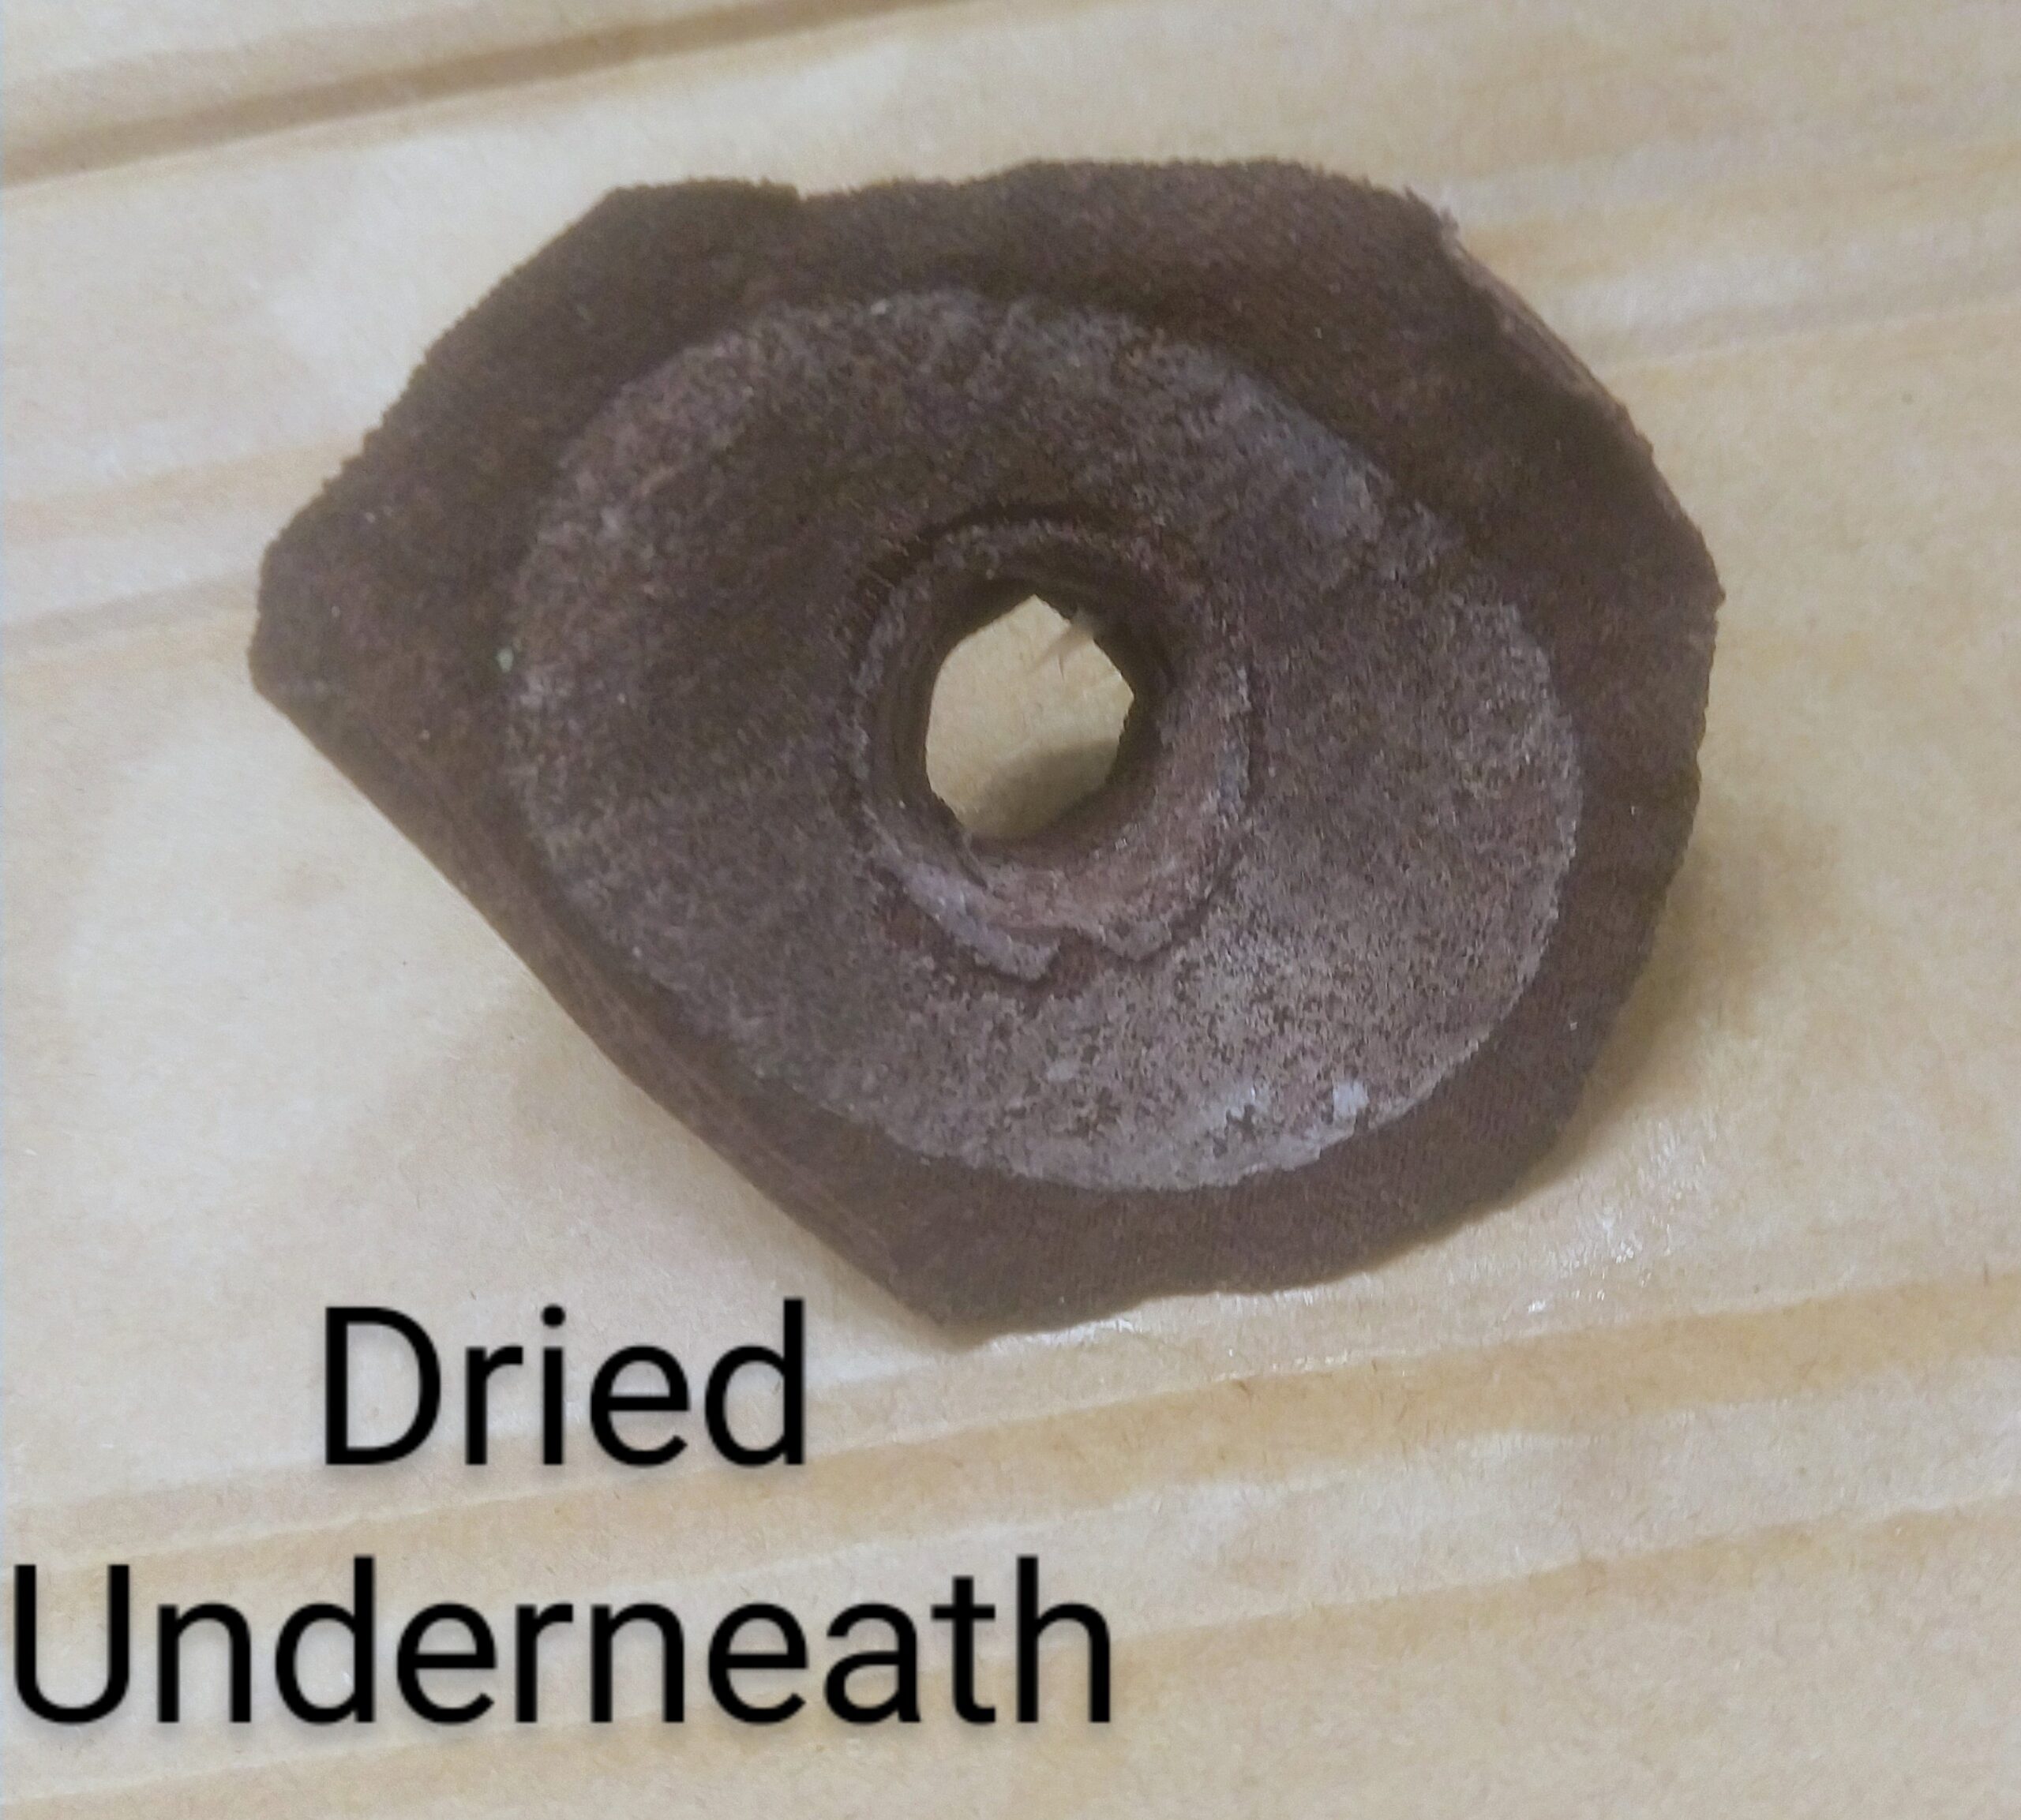
10) at this point you can trim the brim to be the right size and shape. Or you could o it after the next step. Just use scissors and follow the mark from the original hat’s brim
11) soak the top piece in the modpodge/water mixture and put the piece in place from the bottom of the hat til it looks right. I use a sharpie (with the top on) to push it in place. Leave it to dry.
12) Once the final piece is done and dried, you’re done!
The tshirt becomes stiff, sort of like leather. It’s even moldable/shapeable sort of. You can now dry brush or paint it to make it look exactly the way you want or leave it as-is
Here are some more pics:
 |  |
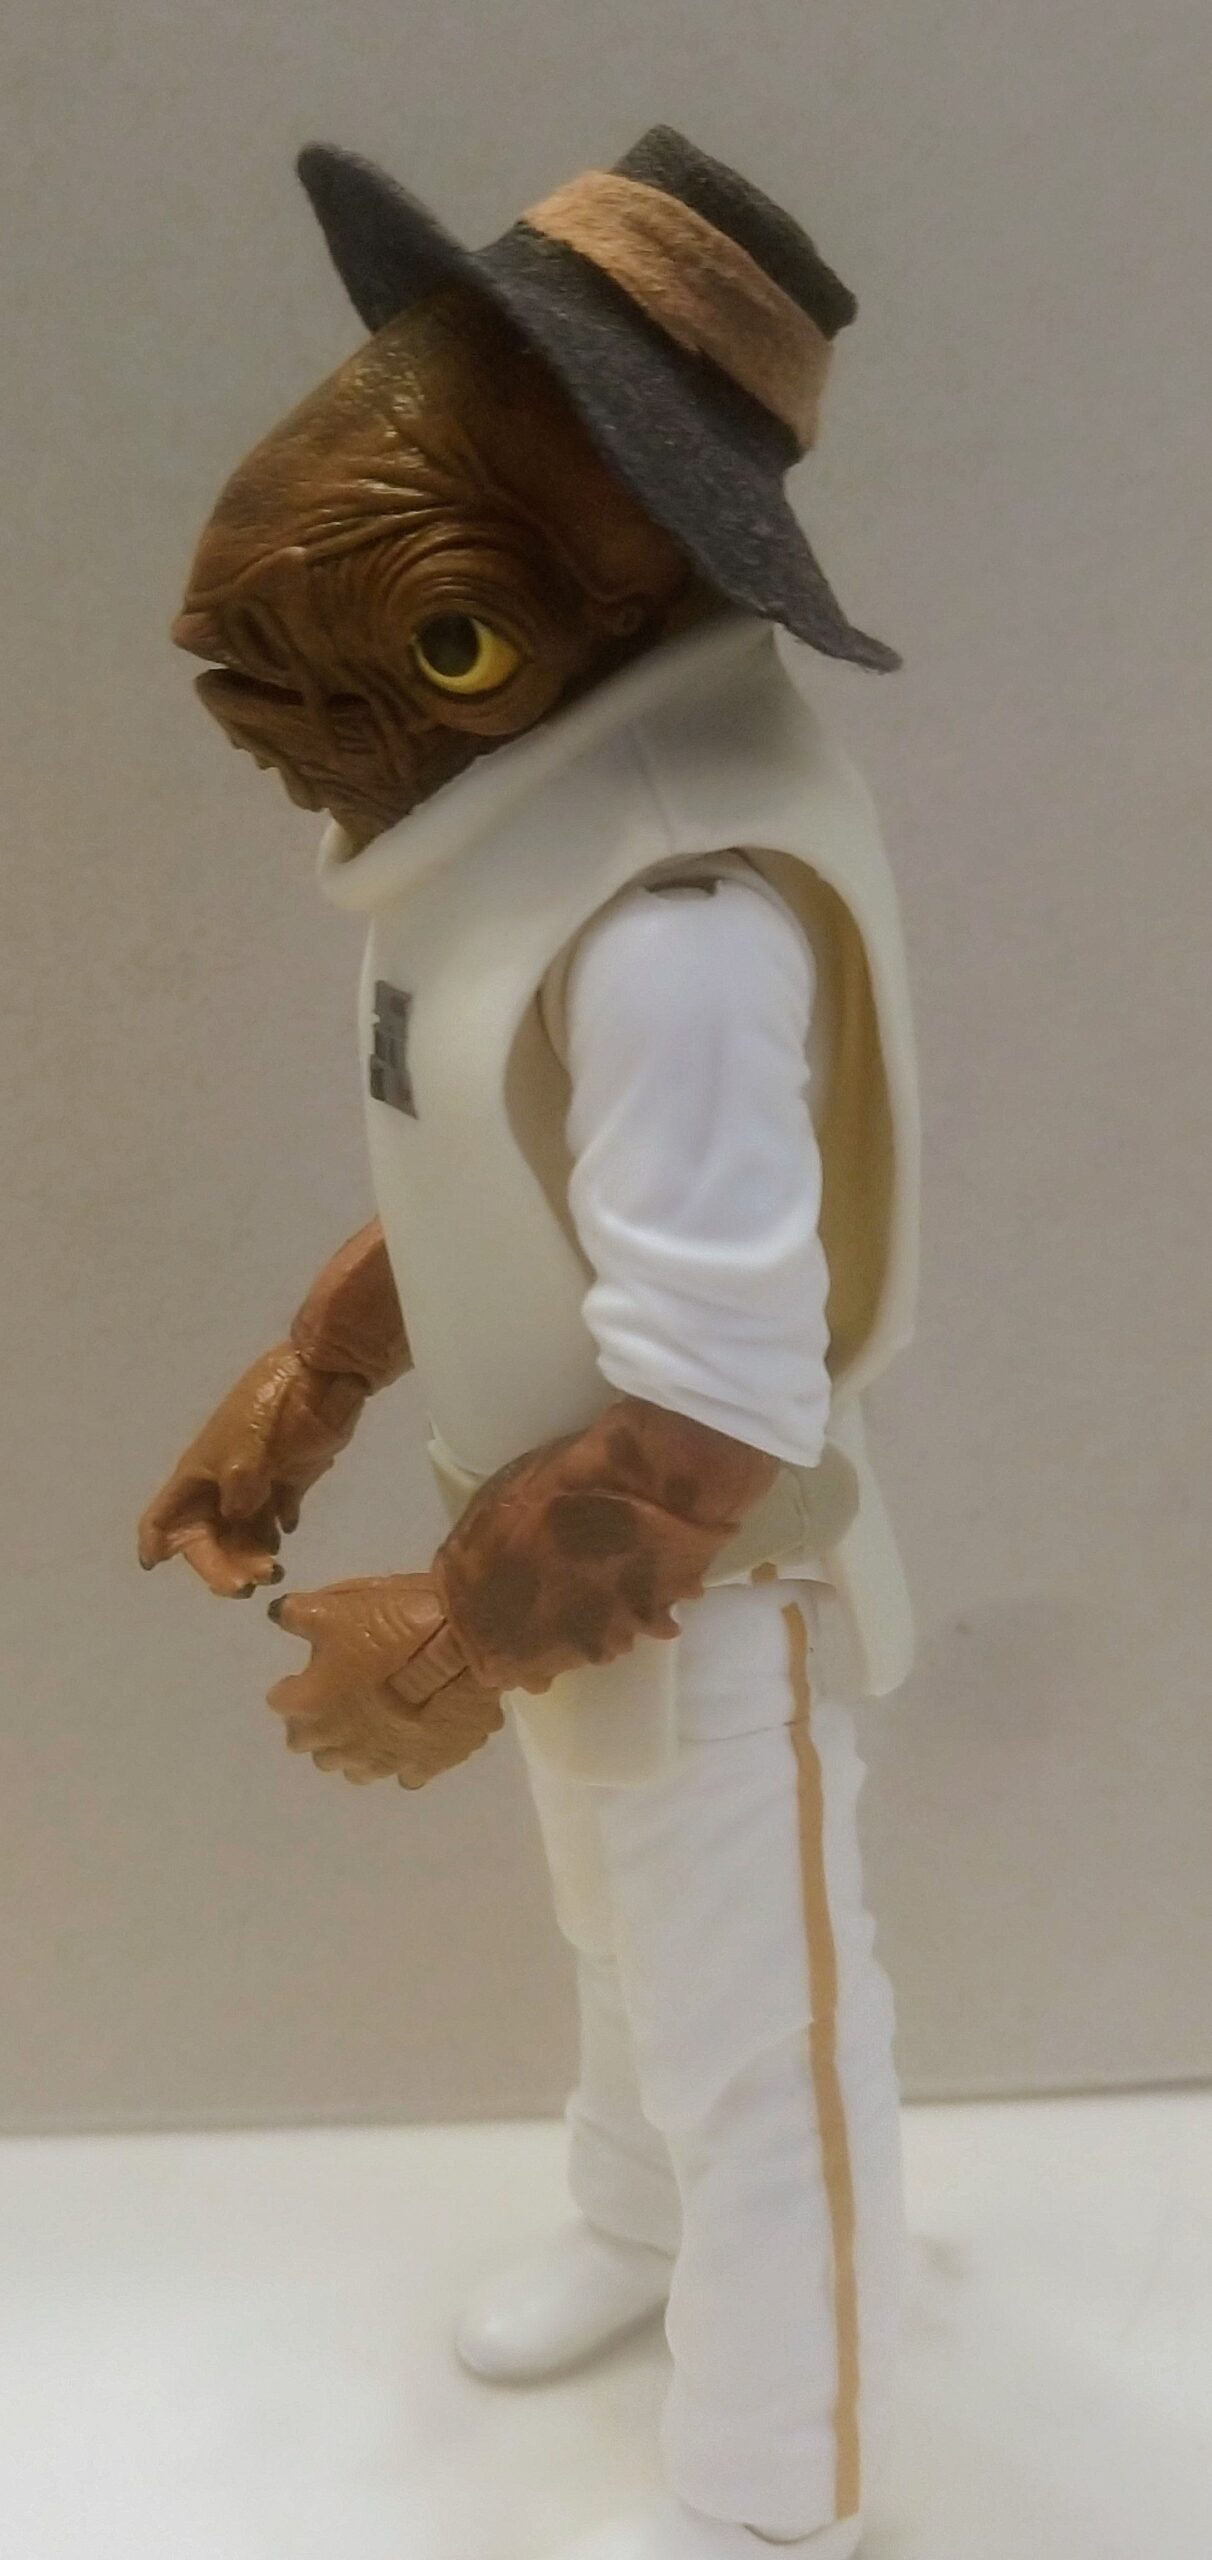 |  |